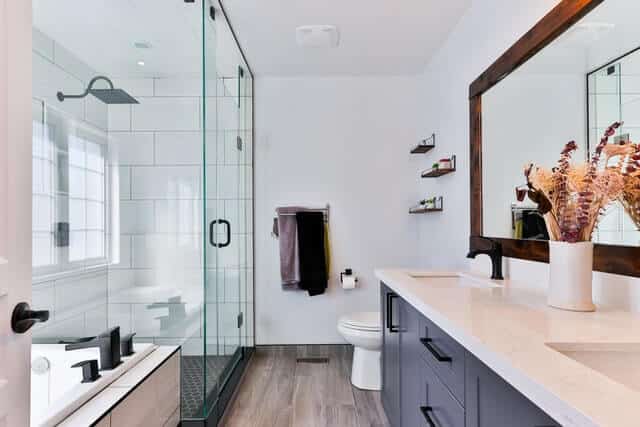
If you want to update or remodel your bathroom yourself, you should know how to install bathroom elements. Messing up the measurements can turn your project into a complete failure. Besides minor plumbing issues, a toilet that is unfit can cause you headaches. Yes, we are talking about the “toilet rough in.”
So many people miss this important part that they buy a new toilet. As a consequence of that, you could have problems with leaks from toilet base, or even toilet waste pipe leaking problems. It’s important not to skip that measurement part.
Take the measurements carefully (twice if needed) if you want to make sure your new toilet fits well.
Down low, we are explaining the task step-by-step and revealing on a couple of extra toilet measurement tricks.
What Is a Toilet Rough In?
Toilet rough-in is the distance between your drainpipe flange and the closest wall. No matter which toilet you pick, follow installing instructions to set everything correctly. The rough in distance is not the same for the 10,12 and 14-inch toilets.
When replacing your old toilet, you want to ensure the new one fits tightly against the wall.
You will buy a smaller toilet if you don’t get the correct measurements.
The result? It won’t fit snugly as it should. However, a larger toilet can cause you headaches as well.
You will be left with an odd-looking gap between the wall and the back of your toilet.
For instance, center-positioned toilets are a breeze to measure and replace. Yet, most people have corner toilets or toilets leaning against a wall. Wall-mounted toilets have their own set of problems.
Down below, we will explain how to do the measuring part properly.
Tools You Will Need
Before you get to work, make sure you have a measuring tool near at hand. Toilets comes in 3 sizes – 10,12 and 14 inch
It’s best to use something easy to move around. Measuring tapes are inexpensive, and you can get them at most shops.
Of course, you will need a pen and paper to write the measurements down.
Basic Measurements
First and foremost, start with the basics.
There are 3 rough in basic toilet measurements, all of them in inches.
- 10-Inch Toilets
Most toilets in older homes measure 10 inches. Yet, you will also find these in the compact-in-size type of households.
Speaking of design, as these toilets should fit smaller bathrooms, the bowls are usually the round front.
What You Should Know About 10-Inch Toilets Rough In
If you want to buy a new 10-inch toilet, downgrade from a 12-inch to 10-inch, or upgrade from 10 to 12 inches, read this:
- If you want to go for a smaller toilet, you should measure the range between bolt caps and the wall. If the measurements you get show there is almost no space between, we advise you to get a special flange, as it will make the replacement easier.
- When there is some space between the wall and the tank, you can notice condensation or leakage in-between. This, further, causes bacteria and mold to expand. If you want to install a 10-inch toilet in this place, beware this will create more space for bacteria to spread. This requires more maintenance and care.
- If you have a 10-inch toilet, you are probably not dealing with clogs. We can thank the distance between the rear drop passage and the outlet opening for this, as the solid waste gets carried away at a straight angle. If you want to upgrade to a 12-inch toilet, you would have to make 2 more inches between the outlet opening and the rear drop passage.
- Even though smaller in size, some 10-inch toilets are flushing more water than 12-inch toilets do.
- As we said, 10-inch toilets usually come with round bowls. This type of blow costs less than the elongated bowl that is 2 inches longer. However, elongated bowls are more comfortable to sit on.
When shopping for a toilet, flushing rate, height, and bowl type are on the list of essential features. Yet, these couple of factors we listed above are as important when changing the size of your toilet.
- 12-Inch Toilets
Right in the middle, a 12-inch toilet is found in most properties.
For this reason, this type of a “standard” toilet boasts different shapes, sizes, and styles so you can fit it just perfectly into your bathroom.
However, be careful when making a purchase. Some sellers don’t take 12-inch as a standard measurement, so ask about this before you realize you got an unfit toilet.
12-inch toilets are considered to be more modern and more comfortable than 10-inch toilets as well.
- 14-Inch Toilets
Similarly to the first type, 14-inch toilets are, just like 10-inch toilets, most common in older properties and smaller bathrooms. Even though most narrow when it comes to the choice, you still can find a couple of nice-fitting models.
Toilet Rough In – Getting Started
Don’t just race out as soon as you make the measurements. Instead, make a plan, organize yourself, check everything twice, then you are good to go. Here is our step-by-step toilet measuring guide.
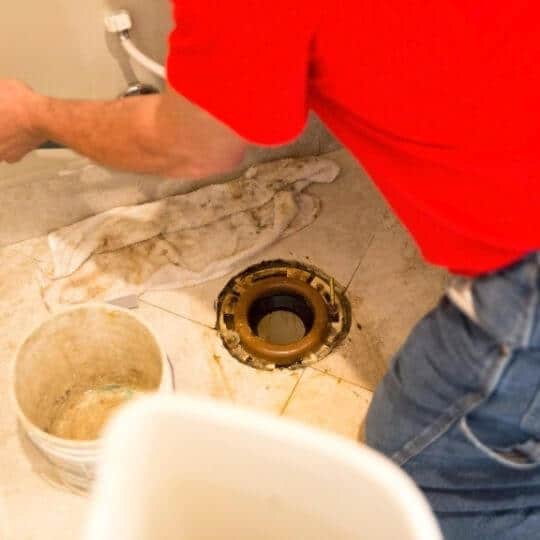
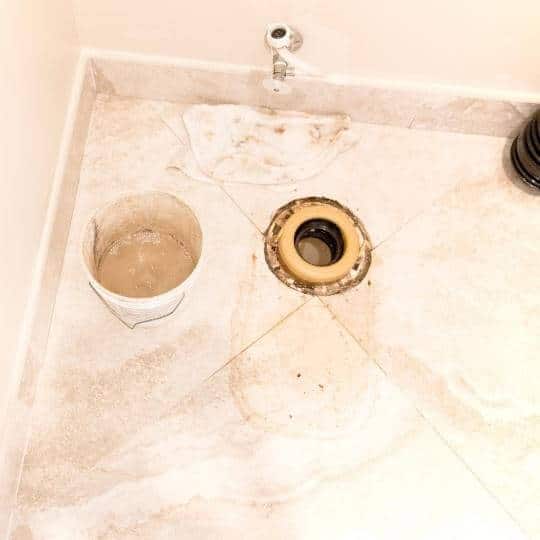
- The Toilet Flange Distance from the Wall
Nobody wants their toilet to flush up their falls. If you don’t want your bathroom walls damaged, measure the distance between your toilet and the wall.
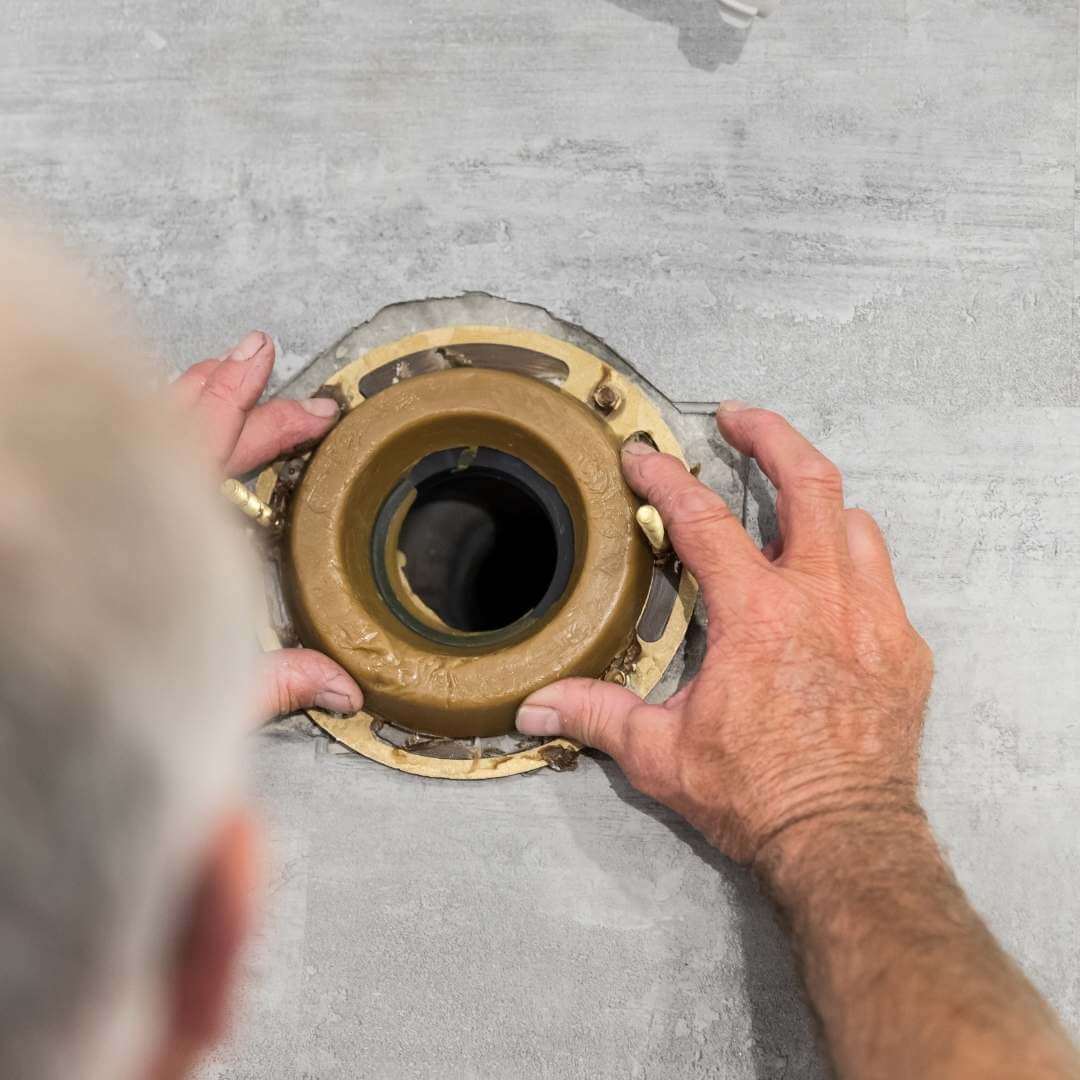
A closet flange fastens a toilet to the floor and connects it to the drain pipe.
The distance of this pipe fitting from the wall should be at least 15 ½ inches if you haven’t still hung the drywall (this applies to new constructions only).
If you are just replacing an old toilet, then the closet flange should be about 12 inches far from the wall.
However, you should measure the distance between the back wall and the middle of the closet bolts just to make sure that you will install a new toilet in the same place as the old one.
If your toilet has 4 bolts, measure the distance between the rear bolts and the wall.
Optionally, you can measure the distance between the wall and the center of the flange.
In case you still haven’t finished the wall, add about a half-inch (the most common drywall thickness) to the distance you already measured.
Interestingly, the distance between the wall and toilet fixtures has a lot to do with your plumbing code.
According to the International Plumbing Code, these measurements start from 21 inches and go upwards.
On the other hand, the Uniform Plumbing Code starts at 24 inches.
- Leave Some Space on the Left and Right
When measuring the width of a new toilet, you should have in mind the space around it – both on the left and right.
It doesn’t matter if you have a wall, bathtub, or any type of fixture on either side, the minimum distance you should leave is 15 inches on one side.
- Space In Front of Bowl
If your bathroom is already small, you know best how much every single inch matters.
Just imagine hitting your knee to the sink, wall, or a locker as you are sitting down on the toilet.
Leave about 21 inches in front of your toilet if you want to be able to use it comfortably.
It’s always better to have more room, but if you do have a small bathroom, there’s no need to go up from 21 inches.
When it comes to shape, a round bowl will fit way better than an elongated bowl.
Cold Water Supply Line (Optionally)
When changing your old toilet bowl with a new one, it would be great to check the old water supply line in your bathroom.
If you haven’t changed it already, there is a chance this supply line will waste a lot of water and potentially make a mess.
You will either replace or reinstall the supply line, but pay attention to its placement when doing so.
If you decide to buy a new one, don’t be surprised when you see a bunch of supply lines in different lengths.
Measure your old water supply line to ensure you are installing a new one of the same size.
The longer the supply line, the better.
However, a too long line would be hanging down the tank and it would get easily damaged over time.
The optimal length of the supply water line covers the distance between the toilet inlet and the wall.
It is mostly made of copper and not too thick – about ¾-inch.
Installing a new water line to the wall makes it less noticeable, but some people decide to place it under the floor so it comes out and reaches the tank.
When replacing or reinstalling the water supply line, turn off the water supply first and drain the tank.
Place a bucket underneath the shut-off valve to catch any spilled water and prevent getting your bathroom flooded.
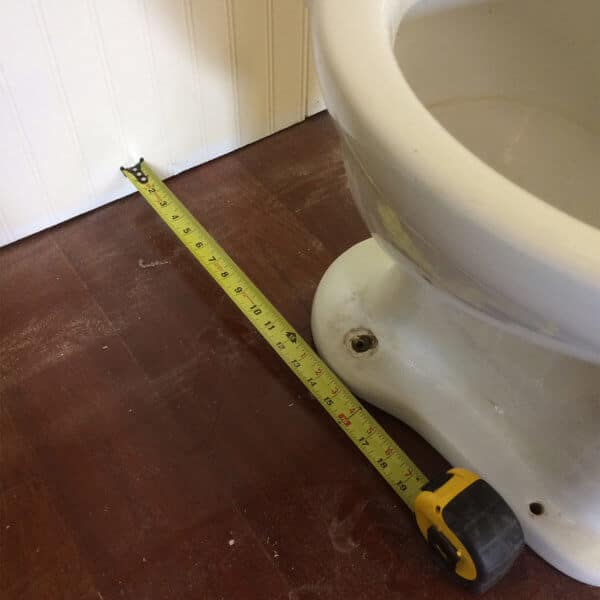
Standard Toilet Rough In
Now that you are familiar with the measurements around the toilet, we are explaining how to measure your American standard toilet.
Even though this sounds like a simple task, many homeowners misplace the measuring tape and thus, get the wrong measurement.
For instance, don’t measure the baseboard or wall mold. Placing the first end of the tape here will add a couple of extra inches and mess up the whole task.
So, place the tape against the wallpaper or plaster. Then, pull the tape on the other side of the toilet and keep it even.
Measure all the way to the central bolt, beneath which is the waste outlet or central floor.
Corner Toilet Rough-In
If your toilet doesn’t flush against the wall but its back faces a corner, here is how you should make the rough-in measurements.
Beware the corner complicates the situation and it would be better to repeat the process once more after you get first measurements.
The only right way to get accurate measurements is to measure from the central bolts to the wall.
Ignore the baseboard and place the measuring tape against the wall.
Then, repeat these steps with the other wall.
When measured properly, you will get two exact measurements.
If you get different numbers, then you should check on this one more time.
Bottom Line
Let’s get real – you won’t be changing toilets in your home every once in a while.
Just like most people, you will do this two or three times maximum, either when you would be renovating the house or remodeling the bathroom.
When choosing between different models, you will find the ones that are water-efficient, others come in one or two pieces, dual flush or single, etc.
However, if you don’t do the rough in part properly, you could have problems with leaks when flushing toilet.
In this guide, we tried to cover all toilet sizes and bathroom positions so you can take accurate measures.
You can go for a size up or a size down, even though 12-inch and 14-inch toilets are more standards nowadays.
We hope you will get your toilet rough the right way and remodel your bathroom as you’ve always wished for.

Michael Davis is a heating & plumbing expert who currently works as independent contractor in SC. He also writes for Plumbertip.
For almost 10 years he worked on various plumbing tasks across South Carolina.