We suppose the bad aim is not the cause of that water sitting around your toilet. Toilet leaking between tank and bowl is one of the most common issues regarding puddles on your bathroom floor.
If you did spot some leakage down there, it is about time to intervene.
In today’s guide, we will go through steps you should undertake in this situation and prevent any further damage.
Also, we will present other possible scenarios for leakages so that you can diagnose the issue the right way.
Determine the Cause
We are not going to presume anything here.
Instead, we want to determine the cause of the leakage by taking the right measures and double-checking the toilet parts.
Here are some of the reasons why excess water is appearing on your bathroom floor.
- Tank sweating
Sometimes, when the temperature within the water tank is much colder than the temperature in your bathroom is drastically different, the toilet’s tank may drip and create puddles on the floor. Tank sweating or condensation is harmless, and you should be carefree about the tank function.
Condensation happens more often during the summer months, even though, depending on the climate zone you are living in, it may happen during winter months as well.
If you want to be sure whether this is the only reason for leakages, you should be patient.
Dry the area with an old rug or a towel and cool down the bathroom.
Once you have equalized the temperature in the tank and your bathroom, detect whether there is any water gathering around the tank.
If there is no water gathering around, you are good.
Still, you can always purchase toilet tank liners or anti-sweat valves to prevent sweating.
On the other hand, if you haven’t confirmed the leakage was due to tank sweating but because of another issue, we will have to take the inspecting further.
- Water leaking from the tank itself
Another possibility here is that the leakage you are experiencing is due to water leaking from the tank.
Even though it takes slightly more effort than the previous step, it is still fairly easy.
Remove the toilet tank lid.
Yet, some lids are slippery and heavy so you should be very careful when removing it.
Store it in a place in the bathroom where you can’t damage it.
Now, you will need some food coloring. (source)
We recommend using red color here, as this one is the easiest to detect.
Green would work as well, while yellow coloring may be mistaken for some other liquid.
Don’t flush the tank right away.
Instead, let the coloring sit there for about 15 minutes.
The water within the tank will certainly change color, but this shouldn’t bother you.
Instead, look up into the bowl.
Is there any coloration there?
Can you notice any red or green dripping from anywhere from the tank?
Spotting red-ish water on your bathroom floor is the most reliable sign the tank is leaking, as that is the only place from where the colored water could escape.
And now what?
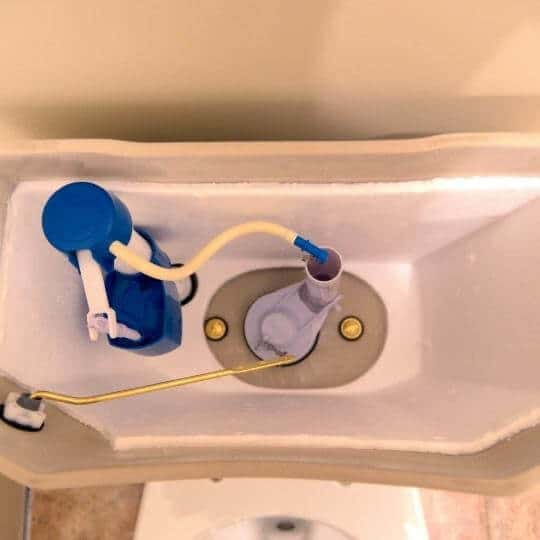
Identify where the Water Is Coming From Exactly
Leaking water from the tank can find a couple of routes to flow down to the floor.
The tinted water leaves a trace, which is great, as you can follow the path it took.
Look up for any cracks in the porcelain tank. These cracks may be fixed with epoxy.
Also, check out the rubber seals and bolts.
Yet, in order to be 100% sure, we want to guide you through the most common leakage scenarios:
- Toilet leaking between tank and bowl
We are starting from the most likely cause of the leakage and the easiest ones to spot.
The colored water will show leakages between tank and bowl in minutes.
Yet, there are different levels of damage here.
For instance, leakage coming from the near center between the tank and bowl means you would probably have to purchase new washers for the bolts or a new sponge gasket for the tank-to-bowl area.
If the toilet is leaking way more when you flush it, that is the sign of bowl gasket malfunction.
Also, if the water is leaking from the sides, forming a bigger puddle, that is a sign of bad bolts and washers.
Yet, much depends on the type of the tank and bowl and work of flushing mechanism.
Some bowls come with low sides towards the back of the inlet hole, others point towards the front, while some have low sides on one side of the inlet hole only.
Either way, you would have to remove the old rusted bolts and toilet tank (we already suggested you should do this with great caution).
Now that you did this, check on the washers and sponge gasket.
Yet, the choice of the right parts also depends on the type of your toilet model.
- Malfunction of the shank gasket
If you notice some leaking still, but you can’t detect where is it coming from(and it is not from between the tank and bowl), the shank gasket malfunction may be the reason for the puddles in your bathroom.
A ballcock (another name for the shank gasket) provides unobstructed water flow to the tank.
Just in case you don’t know how to find the shank gasket – it is located in a place where the fill valve is hooked up to the tank. The shank gasket and the fill valve are connected to each other on the inside of the tank.
You can rely on the colored water test here as well, as the issue is related to the tank either way.
Don’t forget to check on any porcelain cracks close to or around the gasket. If there are no cracks, all that is left to do is to tighten the shank nut with a ¼ turn, right under the tank.
This should stop the leak, but if it doesn’t – it is about time to purchase for a new gasket.
- Loose refill tube
When leakage is coming from the back of the tank (usually near the top of it), it is highly likely the refill tube on the tank has come loose.
Also, check on the flush valve and the overflow tube when inspecting the back of the tank.
- Cracks
Once a crack appears in a porcelain fixture, there is almost nothing you can do to fix it.
Cracks are nasty and, even if you maintain to seal the tank in one place, it can happen another crack appear somewhere around.
In this case, your only option is to install a new toilet and a new tank.
How to Repair Toilet Leaking Between Tank and Bowl?
If you did the colored water test and noticed water leakage was coming from somewhere between the tank and the bowl, we got you covered! Follow our guide for quick and easy repair.
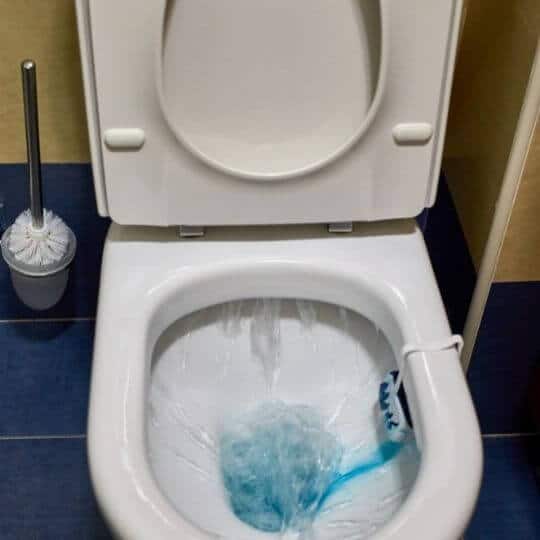
- Shut off the water supply.
- If you followed our colored-water test, flush the toilet after 10 to 15 minutes. A couple of colored droplets will slip down to your bathroom floor. Dry out the tank with a sponge and make sure to take out anything suspicious from within (kids leave small watercraft within the tank sometimes).
- Next thing you want to do is to disconnect the inlet tube. Yet, don’t disconnect it at the shutoff compression fitting but at the toilet. Disconnecting it at the shutoff will only make it less likely to be able to use the line later again.
- Check on the line now. Most lines are chromed and have washers installed on the top. If this is the case with your line, it would be best to replace the washer. You can find it in a hardware store. Purchasing a new supply tube would be a good decision as well now that you are going to the shop for the washer.
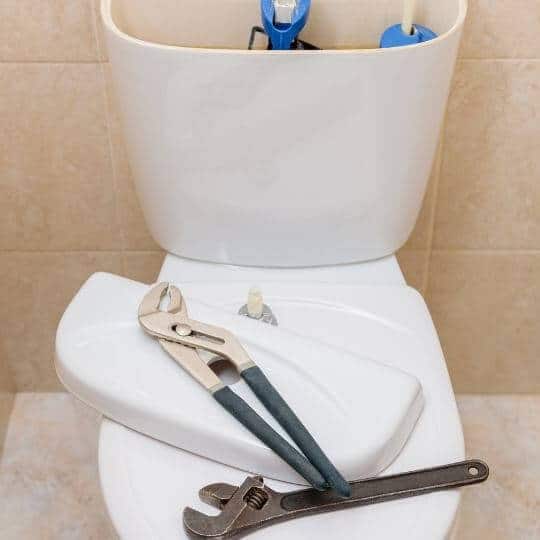
- And now, you can start working on the repair. Start with unbolting the tank from the bowl. If you are doing this the first time, it may seem a bit complicated to disassemble the following parts, but trust us – you are going to make it.
- Look inside the toilet tank. Can you spot slotted screw heads within? There are two of them, and they go all the way down the tank and the bowl down to the end of the toilet. Either way, you will have to remove the screws. If they are a bit stiff, try drilling the heads out. Here is how to do so.
- Drill at least 1/4-inch holes through each screw and point at the center. Start off with smaller drill bits and then increase the size of the hole with larger ones. If you have sharp bits, drilling would be easy as one-two-three as screws are made of brass. However, never be aggressive with drilling. You are working around the porcelain surface, which tends to crack easily, while drilling may damage the toilet.
- Now that you unscrewed the heads, lift the toilet tank. We will warn you the scene down there is not pleasant at all (vile stuff mixed with melted rubber – yikes). You will have to peel off this mess off the tank and put it in a plastic bag. No, you are not going to throw it away (for now), but to go to the hardware store and find the same seal. Compare the old one with seals in the store and buy the one that matches to the old one.
- Wait for a second! Don’t rush out of the store right away. You are going to need a new tank-to-bowl bolt kit as well. This new kit will help you achieve a better leak-proof seal and supply you with any additional parts you may need. It is time to go back home.
- Put a metal and a fiber washer on the bolt. Now slide it from the inside into the tank holes. Also, secure the tank with a nut. A nut is actually one of the key components here. It squeezes the fiber washer and tightens the bolt head, ensuring a leak-proof seal.
- Use the new tank-to-bowl seal and place it on the base of the flapper, right under the tank. If you know for sure water in your home is chlorinated, it would be great to use some silicone plumber’s grease to increase the seal and extend its life. On the other hand, we wouldn’t recommend using Vaseline here, as it may shorten the seal’s life.
- Lift the tank up and position it over the bowl, but make sure to center it right above the bolts. Take a metal and a fiber washer and a nut to tighten the tank, but make sure to turn each nut a few times without breaking the tank.
- Pay attention to bolt heads as you do so! You should try your best not to allow the bolts to turn around while you are tightening the tank-to-bowl nuts. Why is this so important? If you allow the bolts to turn, you will have another leakage in your bathroom sooner than you think.
- We told you it may be a bit tricky, but you came this far! Now, what is left won’t bother you that much. Thread the coupling but to a certain extent, and continue to tighten the bolts right until the tank almost hits the toilet bowl.
- The moment of truth! Pour a couple of liters of water down the tank before turning the water supply back on to check for any leaks. If you can’t spot any droplets around the toilet, congrats! All that is left to do is to tighten the inlet valve coupling nut and to turn on the water.
- Flush the toilet again just to make sure everything runs smoothly.
Read Also: Toilet Leaking From Base
So how to repair toilet leaking between tank and bowl?
Old toilets are prone to leakages, even though new ones may start seeping as well.
If you notice puddles on your bathroom floor or you planned process of toilet remodeling , this may be interesting guide for you.
Today, we wanted to make clear everything related to toilet leakages and guide you through the repair steps.
Toilet leaking between tank and bowl doesn’t look like so challenging anymore, right?

Michael Davis is a heating & plumbing expert who currently works as independent contractor in SC. He also writes for Plumbertip.
For almost 10 years he worked on various plumbing tasks across South Carolina.