Did you know you can fix those dripping faucets, water hammers, overflowing toilets, or puddles of water in the basement You can become a do it yourself plumbing expert today and save hundreds of dollars, but you have to be careful?
According to a study, 2 in 3 Americans tackle all DIY jobs as inflation increases.
Let’s be clear – minor plumbing problems come up almost daily. On the other hand, the biggest plumbing issues are, most of the time result of carelessness. If you root out that leak or clog in time, you won’t need a plumbing professional.
We will give you some valuable instructions to prevent turning your do it yourself plumbing adventure into a disaster.
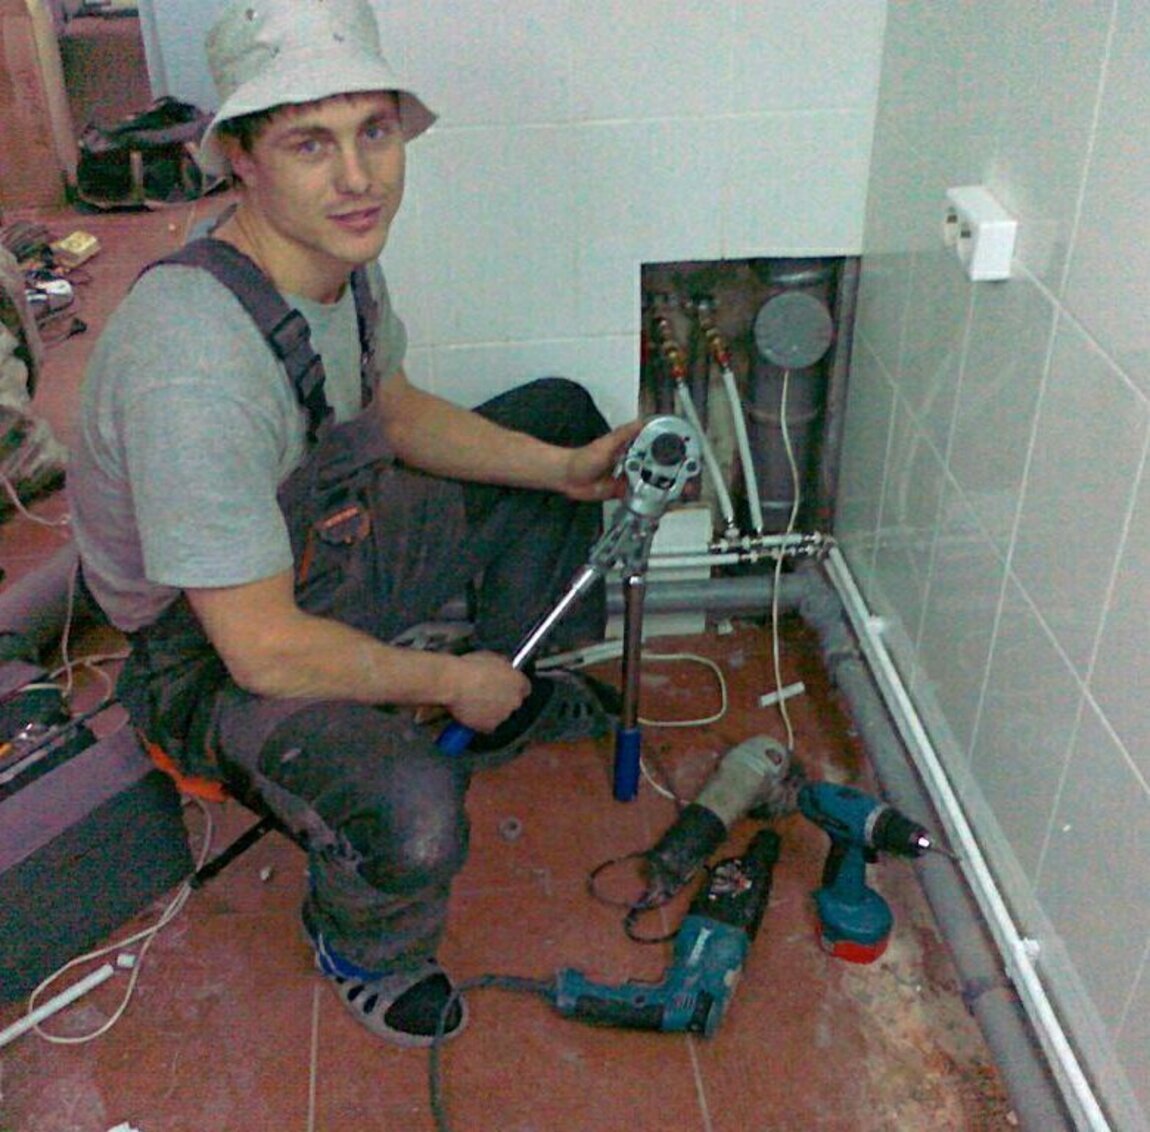
Do It Yourself Plumbing – Instructions To Follow
In this part, we will talk about the initial steps towards a repair, then will mention the most common mistakes in do it yourself plumbing, and move on to a couple of incredibly interesting and easy do it yourself plumbing tricks. There is a couple of preparation step you could follow.
1. Locate the Valves
Always remember this when making any steps towards a do it yourself plumbing project – locate and shut off the valves.
Take this seriously, even when performing the least important and least risky fixes (tightening toilet seat for example).
If you have a nice and modern plumbing system in your home, there is a great possibility you have shutoff valves in each bathroom. When building a plumbing system, experts locate valves in the basement most of the times but don’t rely on this only.
It is always better to check if there are any hidden shutoffs behind access panels. The best test to check if you have turned off the right valves is to turn the faucet on or to flush the toilet. If there is any water running, then you should inspect the valves a bit better.
Does this seem complicated?
We have another great tip for saving the day with your do it yourself project. The most reliable way to turn off the valves is to shut down the main one. You will find it easily, as the main valve is always located where the water line gets into your home. It may be that you will need to shut off the main valve someday in case of a water emergency, and this is a great opportunity to check on it in time. [1]
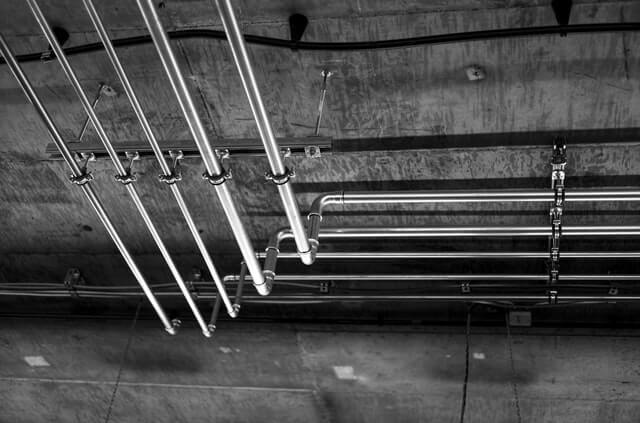
- Get the Sense of The Plumbing System in Your Home
If you are a complete novice in the field of plumbing, it would be great to do some research before hopping onto the work.
When reading any of the step-by-step content, you should have at least a basic knowledge of what a vent pipe is, what is a hose clamp, or how a sump pump works.
Even if you used to know a lot about plumbing and piping before, it would still be great to remind yourself of those concepts.
Then, go around your house and inspect the main plumbing spots in it. You want to detect which walls in your home hide pipes or where the waste line is.
Once you get familiar with the plumbing system in your home, it will be much easier to conduct a do it yourself plumbing project.
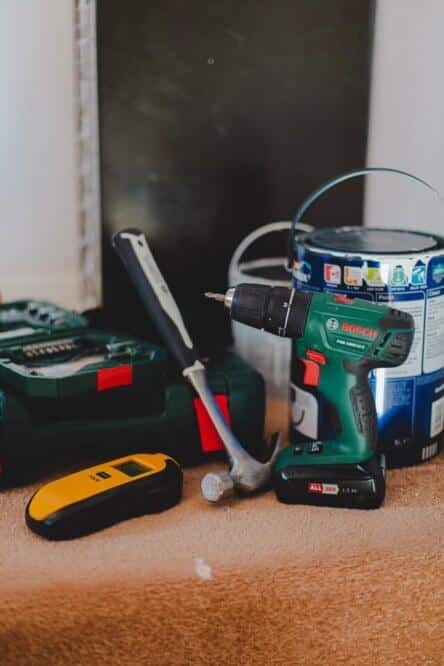
- Prepare the Toolbox
As we mentioned above, you will need the right tools for managing any plumbing issue in your home.
Of course, some repairs require additional purchases, but here are the tools you will need most of the times:
- Closet and/or hand auger
- Adjustable wrench
- Pipe wrench
- Basin wrench
- Hacksaw
- Pliers
- Metal file
- Fire-resistant cloth
These tools should be near at hand for any plumbing repair, no matter if you want to do it yourself, or if you don’t have another choice at a certain moment than to try to fix an issue yourself.
After all, you don’t want to get halfway through and then realize you are missing a tool in a starter kit.
Most Common Do It Yourself Mistakes

- Dry Cleaner Overuse
When dealing with a major clog, chances are very low you are going to unclog it with a chemical drain cleaner.
These products are effective with minor clogs, but you shouldn’t overuse them.
Any chemical causes a strong reaction in your pipes while spilling it all the time down the drain can only cause significant pipe damage instead of restoring the flow.
Once you exceed the rational use of chemical drain cleaner, it will start building up somewhere down below.
This will abrade the pipes bit by bit, but, what is even more important – can represent a threat to anyone who comes in contact with the chemicals.
If, for any reason, built-up chemicals cause fumes in the pipes, that can cause breathing hazards.
In case you are dealing with a major drain or you have already used a chemical drain cleaner recently, it would be much better to go for a baking soda, hot water, vinegar, and salt.
Even if this doesn’t work, you can try with an auger or a drain snake.
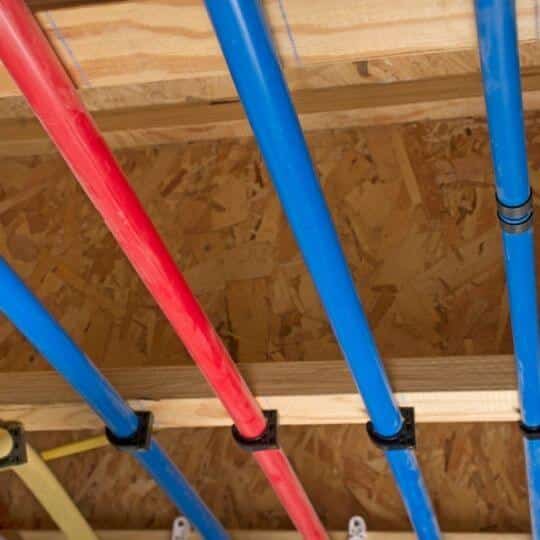
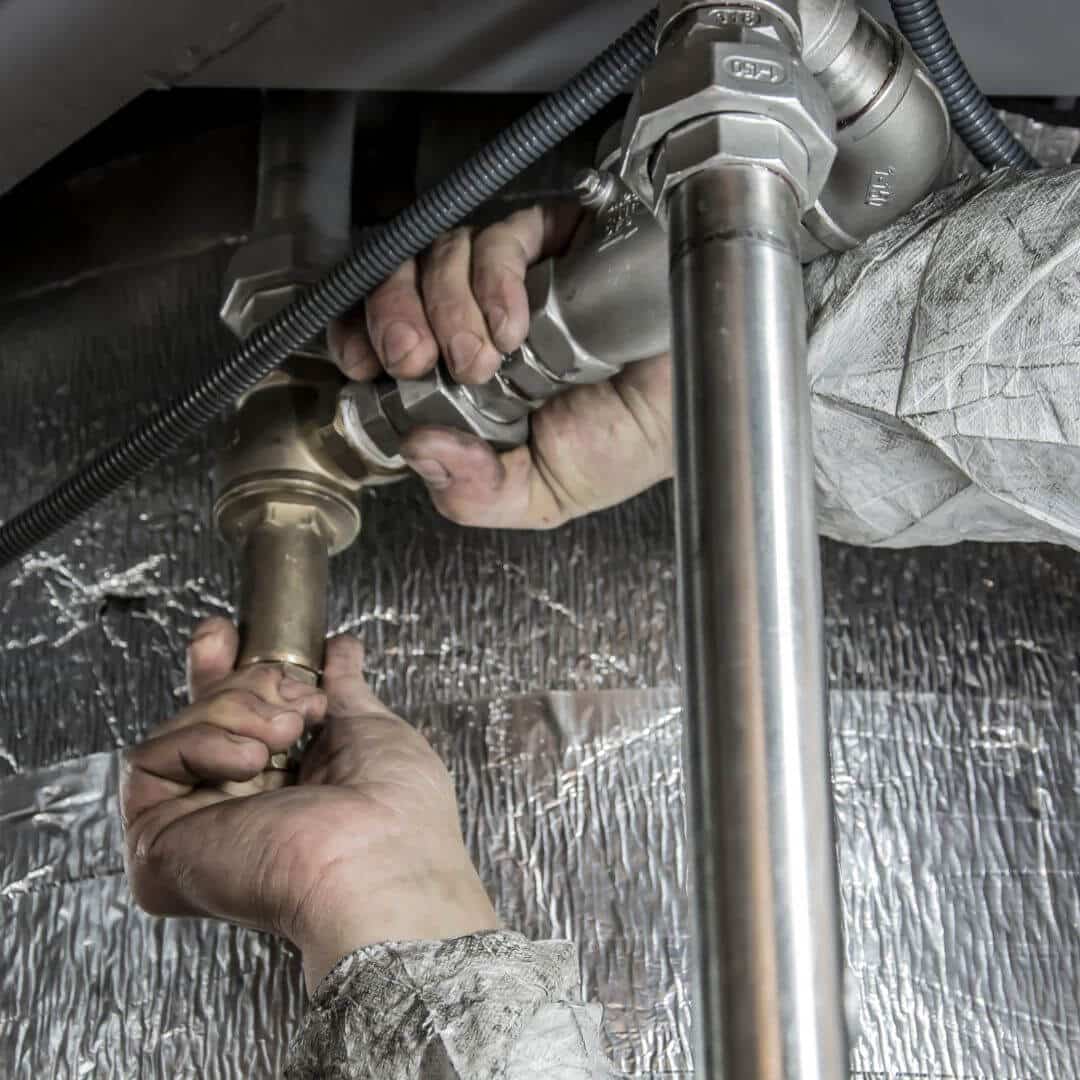
- Overtightening
Pipes, fittings, toilet bolts, and supply tubes are very prone to cracking if you overtighten them.
Most of the times, you won’t notice the crank right away, but it will spread millimeter by millimeter, and cause a flood in a couple of weeks.
Don’t take things too rough, no matter if you are working with carbon or PVC pipes, as this can cost you a lot in the future.
- Not Slanting the Shower Floor
If you, for any reason, wanted to replace the shower floor in your bathroom, remember that plumbing works according to the principle of gravity. One of the most common mistakes with do it yourself plumbing is not providing water to flow downward.
People usually forget water flows only at a precise angle, and they create a perfect spot for molds and bacteria, intentionally. Take a slope while installing a shower floor. Ideally, you should slope it at a four percent angle.
- Gluing
As we mentioned in the previous chapter, you want to be well informed when doing anything about plumbing. Are you sure that glue could be used for PVC pipes?
When you want to seal something in your plumbing system, you don’t need glue, but a plumber’s putty. You wouldn’t believe how many people make this mistake.
- Forgetting about Measurements
Plumbing requires concentration and precision. If you made a cut on a pipe, you want to get a new piece that will fit into, right?
Another common mistake is not writing down measurements of the replacement part.
Plumbing Tricks

- Sweat Those Pipes
If you are a complete beginner with do it yourself plumbing, this trick is something you should remember for life.
Once you learn how to sweat copper pipes, you passed the test.
First of all – you will like it because it is so easy. Secondly, you will learn how to fix smaller pipe issues in a very functional way.
Listen, you won’t make it look flawless, but you will get things done.
To perform this task, you would have to visit a local hardware shop and purchase a couple of items:
- Flux
- Solder
- A small torch
- (if you don’t have one already),
- Pieces of copper pipe
Now you have everything you need, and you are ready to unlock the carbon pipe mystery. Clean the pipes first, if they are green. If you bought new pipes, you are ready to go.
Next, heat the joint and take a little bit of flux. Apply the solder.
If you are trying this for the first time, you would probably be a bit clumsy, but don’t worry – you will still fix the pipe. After all, the most important thing is that your joints would be nice and renovated.
- Showerhead Issues
If you are dealing with a dripping showerhead, there is a great chance you can fix it within a couple of minutes.
In most of the cases, dripping is a sign of improperly connected threads.
Take the showerhead off, wrap tape in a clockwise direction, and take the head back.
On the other hand, if you noticed reduced water pressure coming out of your showerhead, that means only one thing – it is clogged.
You will fix it easily if you take it off and soak in warm water and vinegar.
Vinegar will abrade mineral deposits blocking the normal water spray.
- Lose Pipes And Fittings
Something pipes can bang hardly. Make sure they are fixed.
A pipe wrench is not the answer in most of the cases. When it comes to plumbing, use your mind rather than your strength.
Applying brute force won’t lose hardened fittings. However, heat would, totally.
Use a propane torch and apply the heat for a couple of minutes. Make sure there are no gas or plastic pipes in the area and cover your hands with a heat-resistant cloth. After you finish your work, make sure that you put isolation on your pipes to prevent freezing.
Conclusion
You can handle at least 60% of plumbing repairs by yourself. There is no need for calling a professional for a small leak or a clog. Plumbers charge from $45 to $200 per hour, and you can save a lot of money if you follow the instructions and learn on other people’s mistakes. Yet, we still advise you to have an expert number in your wallet in case things go down.
Michael Davis is a heating & plumbing expert who currently works as independent contractor in SC. He also writes for Plumbertip.
For almost 10 years he worked on various plumbing tasks across South Carolina.