For most of us, soldering is not an everyday task. For some, it is a talent which adds another level to your DIY plumbing skills. But no matter where you stand on the scale of knowledge, you will likely encounter soldering copper pipe problems.
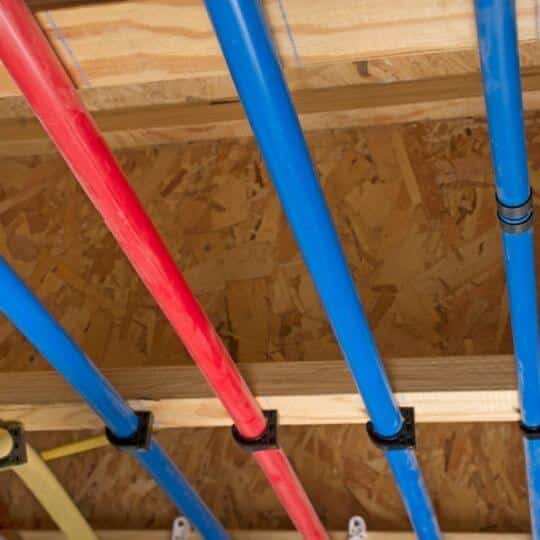
The most common DIY soldering for copper pipes is on a water pipe, which is why some delicacy is required. You want a potable water supply and not something which has been contaminated by flux, solder or anything else.
Soldering Copper Pipe Problems
With the right tools, information and a touch of patience, you can avoid the worst soldering copper pipe problems.
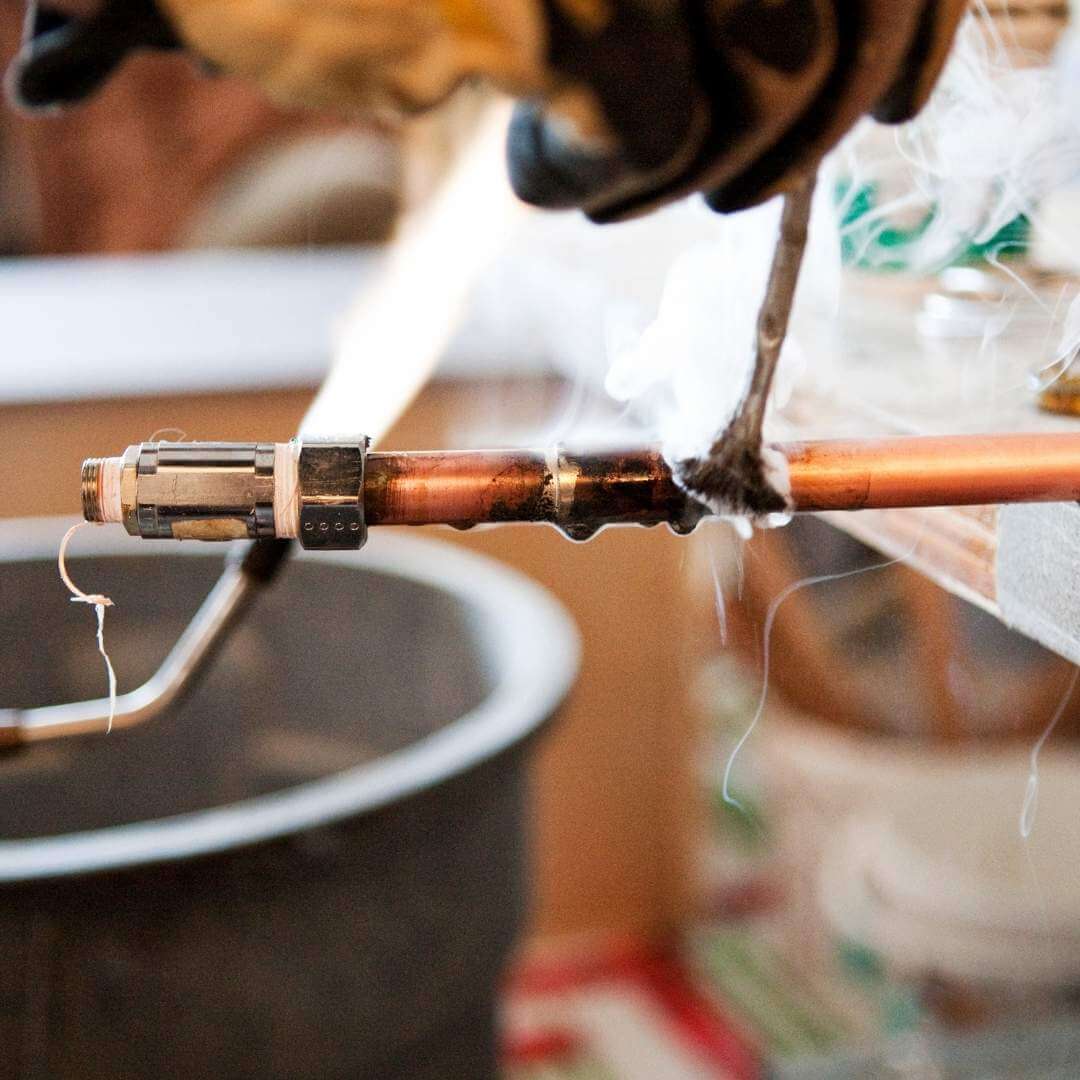
Get Your Flame Right
The flame you use and the temperature of the gas torch is incredibly important. Too hot, and the joint burns. Too cold, and your solder will not melt or bond properly.
Depending on your skill level there are two ways to tackle temperature. If you want to work fast and have the experience, a MAPP gas torch is perfect. It efficiently melts lead-free solder within 5-10 seconds, and for this reason is the preferred choice over traditional propane.
However, the higher heat also means a joint can overheat and burn quicker. If the flux turns black, your solder won’t flow. On the other hand, liquid propane lessens the risk of burning as the heat is less intense, but still just as effective.
The kind of flame used is another reason why problems are encountered when soldering copper pipe. A conical flame can focus too much heat in once place, leading to unwanted burning.
As a result a rosebud flame is the better option. The torch will be closer to the joint, but the flame is wrapped around the copper pipe. This heats the entire joint at an even temperature, providing the solder with a better environment for bonding.
Do Not Overload the Flux
Flux is an acidic chemical cleaning agent which not only helps clean the surface of the copper joining, but it also assists in the amalgamation of solder to copper.
Applied to the joint before soldering begins, you want to use the right amount. Not enough flux and the solder will not form an even bond around the entire joint. That could pose problems with water leaks just like with PVC pipes.
If too much flux is used the excess will likely be pushed inside of the joint. While this might seem good to establish a secure bond, the flux will only ball up and move throughout your pipes and impact the quality of drinking water. Eventually, the acidic flux will also eat a hole in the pipe and you will have to deal with a leak.
Therefore, make sure you use a water based flux to minimize the impact on your water supply in case any does get inside the pipe. But most importantly, use a brush to spread a thin layer evenly over the joint.
And as mentioned before, a lower heat is best as you do not want to burn the flux. It turns dark and solid when scorched and will not act as a bonding agent. The solder will not penetrate the joint. That’s why a lower heat can assist for a job well done, and you can tell you are at the right temperature when the flux begins to bubble.
Solder On: Start with Quality
Modern solder flows quite quickly once it melts, so you have to be ready. Start with quality solder, and have a plan mapped out.
Silvabrite 100 is one of the top solders for copper, containing 95.5 per cent tin, 4 per cent copper and .4 per cent silver.
The key is to not use too much, or too little, as you will definitely have problems soldering copper pipes. Just like flux, too little solder and your joint will not bond or form a watertight seal. And if too much is used it could slide within the joint and create a blockage or obstacle for the water to travel past.
As a rule of thumb, use half an inch of solder for a half inch joint, and follow accordingly for different sized joints. Similarly, as the saying goes, measure twice, cut once, always double check the amount of solder you are about to use before firing up the blowtorch.
You know the temperature will be correct when the solder begins to melt, therefore, you want to hold the solder in place before heating. And remember, the aim is to create an even seal around the joint.
To do this, you want to let the solder run into the joint in a method known as capillary action. This is the method of liquid flowing into a narrow space, like the joint between two copper pipes, because of intermolecular forces – also known as the force of attraction.
Now, the good news is you do not have to worry about the specifics of capillary action or continuum mechanics. Just make sure the rosebud flame is providing an even heat!
A Few Final Tips
To avoid damaging or ruining your completed joints, wrap any nearby work with a wet rag. The coolness of the cloth will stop heat from the torch spreading down the copper pipe and potentially causing bonded solder to melt.
If you are soldering in a tight space and cannot avoid surrounding surfaces or potentially flammable materials, purchase a flame protector. The carbon fibre welding fabric can be found at your local trusted hardware store and it is an additional layer of safety which will always come in handy. It will prevent any unwanted scorching or burning of walls, and the chance of a surprise fire.
Meanwhile, allow the joint to cool down once the bond has been formed. You can then clean the copper pipe with a damp cloth to remove any excess flux. Otherwise you may be left with residue which could corrode the outside of the pipe.
Lastly, if you follow these tips we are confident that you will avoid any nasty soldering copper pipe problems!
To help out, the experienced team of Metropolitan Plumbers has outlined the most likely problems and the best solutions for copper pipe soldering.

Michael Davis is a heating & plumbing expert who currently works as independent contractor in SC. He also writes for Plumbertip.
For almost 10 years he worked on various plumbing tasks across South Carolina.