Soldering a copper pipe can be a challenge if you’ve never done this plumbing project. However, things are even trickier when there’s water still in pipes. Learning how to solder a copper pipe with water in it doesn’t have to be tricky. All you need to do is to learn a couple of tips and tricks to make this an easier process.
Don’t call a plumber for every little inconvenience – this might be a project you’re able to do on your own. Such knowledge can help you complete your next kitchen or bathroom plumbing DIY project without hassle and additional expenses.
Without further ado, here’s how to solder a copper pipe with water in it:
What Is Soldering?
Soldering is the process of using a heat source to seal a copper pipe. It’s one of the best copper pipe joining methods out there, as it’s the most durable one.
Before you learn how to solder a copper pipe with water in it, it’s important to fully understand this process and why it’s usually left for professionals to complete.
Also known as sweating, the soldering process uses a blowtorch or another heat source to melt flux, a type of metal paste. This melted flux will be used to combine the pipe joints. It will flow into the joint grooves, bonding with the copper on the molecular level.
As the flux cools down, you or the professional doing the process will connect the two pipes together. This will ensure a tight connection.
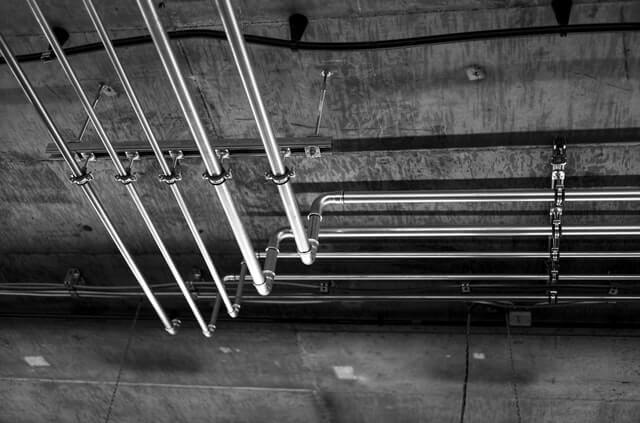
While there are other methods to seal pipes, almost all plumbers will know how to solder copper water lines as this is one of the best methods to ensure nothing is leaking.
Of course, not even this flux is indestructible, and there are several things that can lead to the flux damage. The two most dangerous ones are:
- Rust – just like many other types of metal, flux can rust. It can lead to rust coloration in your water.
- Corrosion – if you use the solder pipes a lot, they might corrode as the water flows over the joints. You can reduce the chances of this happening by cleaning your copper pipes from inside
As you might’ve guessed from reading this alone, this process is usually done when the pipes are empty. However, understanding how to solder a joint with water in it is necessary for emergency repairs or when you don’t have the time to get rid of the water.
How To Solder a Copper Pipe with Water in It?
Soldering a copper pipe with water in it is one of the more challenging projects. Water is the enemy of most plumbing projects, and this one isn’t different. Still, this can be done if you know the steps we’ll list below.
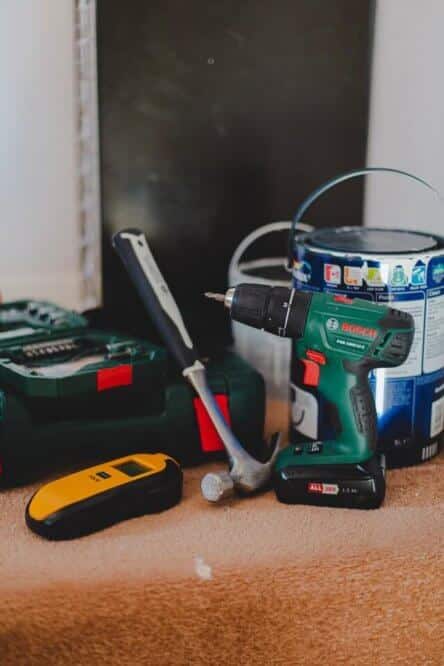
For this project, you’ll need:
- Soldering torch.
- Flux.
- Flame protector.
- White bread.
- Vacuum.
- Compression Valve.
- Fitting brush.
- Jet Swet or similar set of plug tools.
- Pipe cutter.
Here is how to solder a copper pipe with water in it:
Step 1
While this is a guide on soldering pipe with water in, the truth is that you cannot solder as long as there is water actively flowing through the pipe. Some water residue is fine, but flowing water will turn the torch off, ruining your process.
Not to mention that the heat of the torch will vaporize the water. The water boils at 212oF, which is much lower than the boiling point of copper pipes, which can be as high as 1,983oF. [1]
If there is too much water inside the pipe, it will evaporate, dangerously increasing the pressure inside the pipe.
Because of this, your first step should be to get rid of as much water as possible.
Fortunately, there are several ways you can stop the water flow. Here are some of them:
- Using white bread. Make a tight ball of white bread (yes, it has to be white bread, not the crust or wheat bread) and push it far into the pipe using any thin and elongated tool, such as a stick or a pencil. This is an old trick used by plumbers, but it doesn’t work with strong water flows.
- Compression valve. This is a good method when the white bread won’t hold it.
- Jet Swet. This is a set of plug tools that can help stop the water flow.
Step 2.
If possible, try to find a way to get rid of any water that remained in the pipes. As mentioned, having a little bit of water inside the pipes won’t make things too challenging for you, but you should do all you can to ensure the pipe is as dry as possible.
The best tool to remove as much water as possible is a vacuum, but you can try any other method you think might work.
Step 3
To ensure the process goes as smoothly as possible, you need to try to clean the pipe as well as possible. You can do this with a fitting brush, but if you don’t have it, you can use something as simple as emery cloth.
Step 4
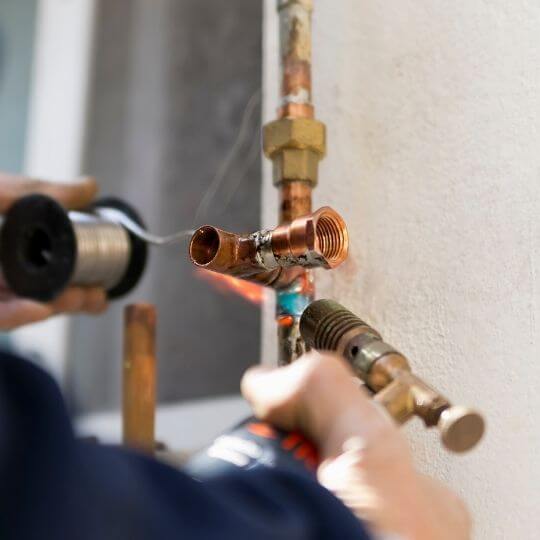
Now it’s time to apply the flux. Flux looks like wax and you’ll need to apply it both on the inside and outside of the pipe. Don’t use your fingers for this – instead, take a brush that will help you apply a fairly thin layer of flux on the pipe.
Flux will dissolve once you use a soldering torch and it will remove the existing oxidation and patina from the copper pipe, ensuring a somewhat longer lifespan of that part of the pipe.
Step 5
Before you start doing anything with a soldering torch, make sure everything around the pipe is protected with a high-quality flame protector. This will keep the surroundings from getting scorched or even set on fire.
Step 6
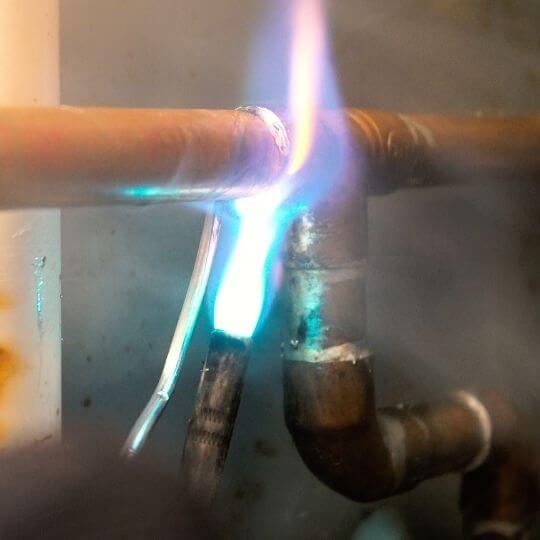
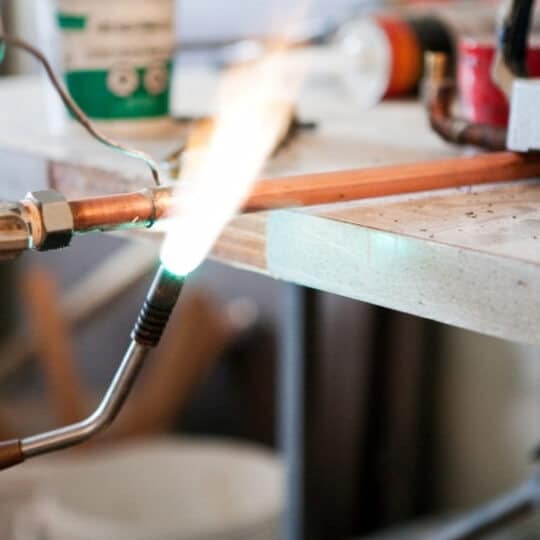
Finally, it’s time to sweat the pipes! If you already know how to solder copper water lines, this shouldn’t be too much of an issue, but we’ll go through the process just in case.
First, you need to choose the type of soldering torch. It might be better to choose the one that uses MAPP gas instead of propane. MAPP gets hotter much faster than propane, which is why it’ll complete the process much faster. [2]
Light the torch up and make sure the temperature is stable. Don’t go too hot too suddenly, as you don’t want the flux to heat too much suddenly. In fact, it might be best to gently heat the fitting before you touch the joint surface with the tip of the solder.
You should ensure the solder is distributed well around the fitting so that everything is heated properly. If the temperature isn’t high enough, heat the joint once again.
Avoid Some Common Mistakes

Many people who aren’t experienced in soldering pipes make similar mistakes that can entirely ruin your project.
Here are a few of them:
- Using too much heat from the very start.
- Not using enough flux.
- Not cleaning the fittings properly.
- Melting the solder with the flame instead of heating the copper.
To avoid them, we would advise you to practice a bit on a few joints you don’t really plan on using before you start with the important DIY project. This will help you get used to the soldering torch and the commands before you get near the actual pipes that need soldering.
Remember that preparations are the most important part of understanding how to solder a copper pipe with water in it properly. You need to be patient and take your time. If the pipe is properly cleaned and dried and the flux is properly spread, this will do wonders. Not to mention how it can make the entire difference between a properly soldered pipe and a joint that’s going to leak very soon. Whether that be a pinhole leak or a major one – it can still cause significant water damage and you shouldn’t risk it.
What Type of Solder Should You Use?
There are several types of solder you can use for your soldering DIY. Which one you’ll use usually depends on the type of pipe you plan on soldering.
For example, if you’re going to solder drainage pipe, a 50/50 solder will do the trick. However, this type of solder contains some harmful materials, such as lead. [3]
Because of this, you don’t want to use it on pipes with drinking water. On such copper pipes, it might be best to use 95/5 solder instead. This type of solder doesn’t contain any harmful chemicals and it’s safe to use with drinking water.
Also, it’s important not to go overboard with solder. While it might seem that using more solder is better for preventing leaks, it can, in fact, cause severe damage to the pipe. Too much solder will restrict water flow inside the pipe, and it might even form small bubbles that can break loose and cause significant damage to your plumbing system.
Also, keep in mind that solder shouldn’t go on threaded fittings, as it can clog them and make it challenging to seal everything properly.
The Bottom Line
Knowing how to solder a copper pipe with water in it can come in handy when you need to do an urgent plumbing task or a DIY. This can help save you a lot of money on something you might’ve done on your own.
Still, it’s important to note that this project includes working with extreme temperatures. If you do just one step wrong, you can cause significant burn damage, either to your property or to yourself. Because of this, you should be prepared beforehand.
In fact, preparation is the key to completing this task successfully. If you’ve done the preparation the right way, everything else will go smoothly. When the pipe is clean and the solder is heated to the right temperatures, the task is already almost completed.
Finally, if you’re afraid of working with dangerous materials and with heat, this might not be the task for you. There is nothing wrong with asking for help if you don’t think you are suitable for some tasks. It is better to leave something to a professional than to risk significant water damage.
Read Next: Pipes Knocking When Hot Water Is Turned On

Michael Davis is a heating & plumbing expert who currently works as independent contractor in SC. He also writes for Plumbertip.
For almost 10 years he worked on various plumbing tasks across South Carolina.