Caulk is an essential part of home renovation, but removing it often becomes annoying. How to remove caulk from walls? Our article will teach you tips to remove the caulk easily with chemicals or homemade materials.
What Is Caulking?
First, let’s discuss what caulk is and why we use it. Caulking is essential for keeping bathrooms, kitchens, and other household areas clean and damage-free. Not using caulk to cover gaps might even cause water to run down to your neighbours!
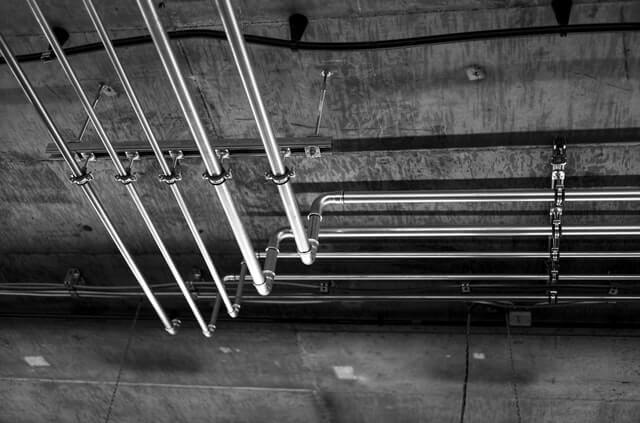
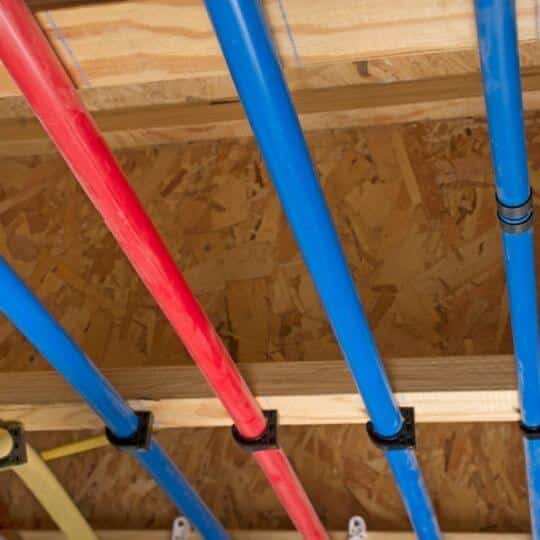
Caulk is used to filling cracks and seal joints around windows, doors, pipes, trim and fixtures. This prevents air, water, dust or other materials from entering the seal and keeps it sealed. [1]
A good seal can be the finishing touch deciding between a sloppy repair or a clean, professional installation.
But over time, even the best caulk can get dirty or lose its seal. Existing caulk may need to be removed before many home projects, such as installing new fixtures or tiles. Not taking care of ruined caulk might also lead to bigger issues and higher financial costs. So, it might be a time-consuming process indeed, but it’s worth doing right. So let’s discuss how to remove caulk from walls.
How To Remove Caulk From Walls

Painted walls are the most sensitive joint surfaces, so there is a strong possibility of damaging the wall surface when aggressively removing caulk. However, with the proper techniques and tools, the job can be done successfully, withsignificantly reduced damage to walls. [2]
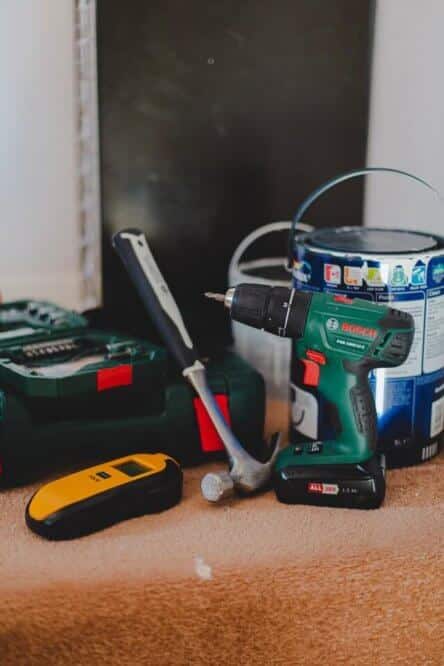
Here, we’ll demonstrate some valuable tricks to make the process easier.
The most popular method to deal with the caulk is to soften it. There are several ways which help you soften the caulk successfully, but let’s first discuss the most traditional method with caulk remover.
How To Soften Caulk For Removal
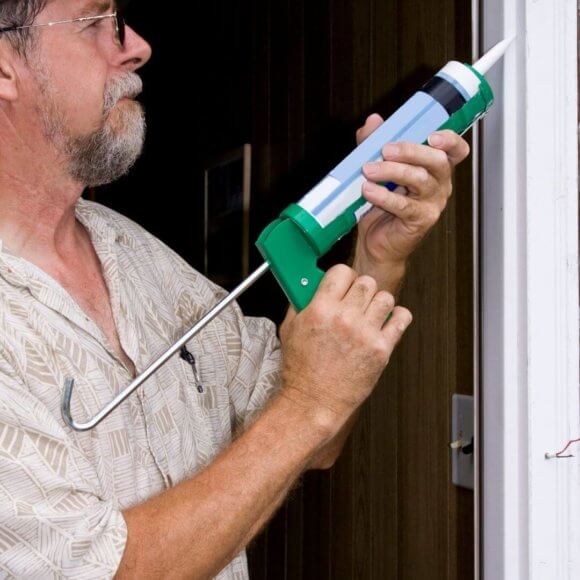
One way is to use a commercial caulk remover. The remover weakens the internal structure of the caulk, making it easier to pry open the caulk.
However, caulk is not necessarily compatible with all materials, so be sure to follow the product manufacturer’s instructions. Below we will demonstrate the steps you need to follow to remove the caulk with successfully chemical removers.
Seven Steps To Remove Caulk Harmlessly
- Cut the tissue into thin strips slightly wider than the seam line. Make enough strips to cover the entire caulk.
- Squeeze the liquid gasket remover onto a paper towel and soak thoroughly. Place the strip on one end of a row of connectors. Repeat this process until the caulk compound is several feet thick with a damp paper towel.
- Place several strips of wide paint tape over the covered grout, sealing the remover in place and preventing it from evaporating. Tear off the tape before reaching the end of the caulk-covered section.
- Redo the process with the next few yards of caulk, covering with a dampened paper towel and then paint tape. Slightly overlap the new tissue with the previous section, so you don’t miss any of the caulking. Keep doing this before you cover the wholesurface with caulk and tape.
- Let the caulk sit for the time specified by the manufacturer, approximately seven to nine hours. Then remove the tape and paper towel strip. The caulk should now be soft and easy to remove.
- Now, you can begin peeling the Caulk. You can use a utility knife or spatula to cut and scrape the grout. For multiple layers of seam compound, needle nose pliers will probably work best. The most important thing is to be careful not to dig too deep and scratch the tub’s surface.
- Final step: Clean the surface. After removing the caulk, thoroughly clean the area of any scum or debris. For most surfaces, wipe the area with a cloth moistened with bleach or a non-ammonia cleaner to kill mould. Substrates that are more sensitive to damage may require cleaning with a milder substance such as denatured alcohol.
What Is The Best Caulk Remover?
As a craftsman or DIY master, caulk removers can help you in many ways. You can use it when removing worn and old caulks in renovations or repairs. There are tons of removers on the market, but not all are effective.
According to our research, 3M caulk is one of the best caulks. It effectively penetrates, loosens and softens all types of seals for easy removal, which can then be cleaned with just soap and water. A practical squeeze bottle with a flip cap makes application quick and easy.
Easy steps to use the 3m gasket remover:
- Use 3M remover generously
- Keep it on for 3-4 hours
- Use a good caulking tool
- Use lots of elbow grease
- Apply several times
- Stay patient and continue working on it
Homemade Caulk Removers
You might not have access to the manufactured caulk removers, but the job has to be done immediately. No worries, there are several well-tested DIY methods to remove caulk with the ingredient, you will definitely have a home.
Removing Caulk With Vinegar
Caulk removers are usually strong chemicals that are not quite healthy. With children around, you might seek a safer, more non-toxic method to deal with the caulk. And for this, you can simply use vinegar. Removing caulk with vinegar is one of the widely used methods of removing grout from walls.
When choosing eco-friendly alternatives to harsh chemicals, vinegar is the clear champion. Vinegar is biodegradable, has an indefinite shelf life, and does not leave toxic chemical odours or residues in your home. Vinegar is an excellent cleaning product that can even tackle challenging projects like old or leftover caulk.
Vinegar consists of acid, which helps break down hard, sticky, or old grout and dissolves it to be wiped off effectively. Here’s a quick DIY tutorial on using vinegar to remove caulk. [3]
- Pour 2-3 cups of white vinegar into a bowl and wear latex gloves to protect your hands from irritation.
- Dip a dishwashing sponge in vinegar and apply directly to the caulk. Hold the mop against the grout for a minute to give the vinegar time to dissolve the grout.
- Scrub the caulk vigorously with a vinegar-filled scrubber. Dip the scrubber in the vinegar mixture if necessary.
- If possible, start on one side of the seal. When you start dissolving the caulk with the vinegar, start pulling up the edges of the caulk with your fingers to speed up the process.
- Dampen a rag with warm water and wipe off any remaining grout residue.
Removing Caulk With Flour and Water
Have you heard that flour and water can help you remove that annoying old caulk from your walls? Let me teach you how.
You only need the following two ingredients readily available in your household. These ingredients are not only easy to use, but they are also safe and effective.
- Start by cutting off any large pieces of caulk from the wall. You can soften and wet the silicone with water to make it easier to cut. Be sure to remove any large silicone strips from the wall.
- After cleaning the surface, mix the flour and water. This is an essential part. You should mix the flour and water in the proper proportions to make a thick paste. Proportions are relatable. Make sure your flour is enough to be applied to the entire caulk on the wall.
For example, you can start with a cup of flour and then add some water. Mix the contents thoroughly. You can increase the amount of water or flour to make a thicker mixture. You should remember that it is important to use white flour instead of whole wheat flour.
- Onceyourmixture is done, use your fingers to spread it over the remaining grout on the surface. Spread it evenly and carefully over the surface and let it sit there until it dries. Let the mixture dry so that it adheres to the grout.
- When the mixture is thoroughly dried out, wash the paste with water. It will leave a clean, smooth surface with no caulk. This method of removing caulk from walls is simple, effective and reliable.
Removing Caulk With Alcohol
Surprisingly, alcohol is a well-tested method for removing the old caulk. When using water-based acrylic caulk or polyvinyl acetate resin, moisten the caulk with isopropyl rubbing alcohol.
Regular isopropyl alcohol is a convenient limescale remover. Water-based acrylic and polyvinyl acetate resin caulk can usually be easily softened by soaking in isopropyl alcohol.
Removing Caulk With A Hairdryer
Another effective method is heating, which you can easily do with a hairdryer. Turn the blow dryer to the highest setting and heat a small portion of the caulk. You should heat it for about 40 seconds. Then use a washer scraper to remove that section. It might need intense heating to soften the caulk finally, but it truly is a helpful trick. [4]
Removing Caulk With A Blade
Another helpful trick is to cut the caulk with a blade. You can use a small razor blade to cut through each end bead of caulk to expose the edge of the thread.
Once the edges are ‘holdable’, grab them with your fingers and pull firmly as much as possible. Pull towards the remaining sealing line to remove it. [5]
How To Remove Caulk From Hands
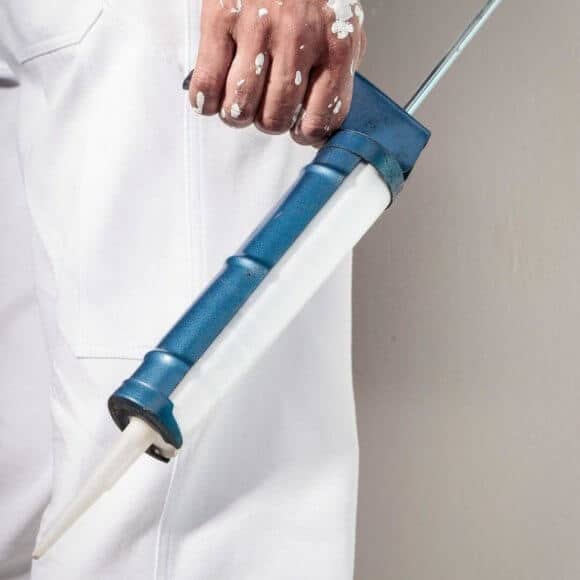 One way to remove dry caulk from your hands is to use acetone wipes. Acetone is an organic chemical often used in nail polish removers and can easily dissolve some plastics like acrylic nail polish. Its ability to dissolve or weaken the silicone proves that you can use it for caulks on your hand.
Use an acetone wipe to moisten the silicone-covered area on your hands lightly.
When acetone mixes with the silicone seal, it spreads over it rather than soaking nearby substances. Acetone breaks down the silicone particles and forms a solution. [6]
How To Soften Caulk In A Tube
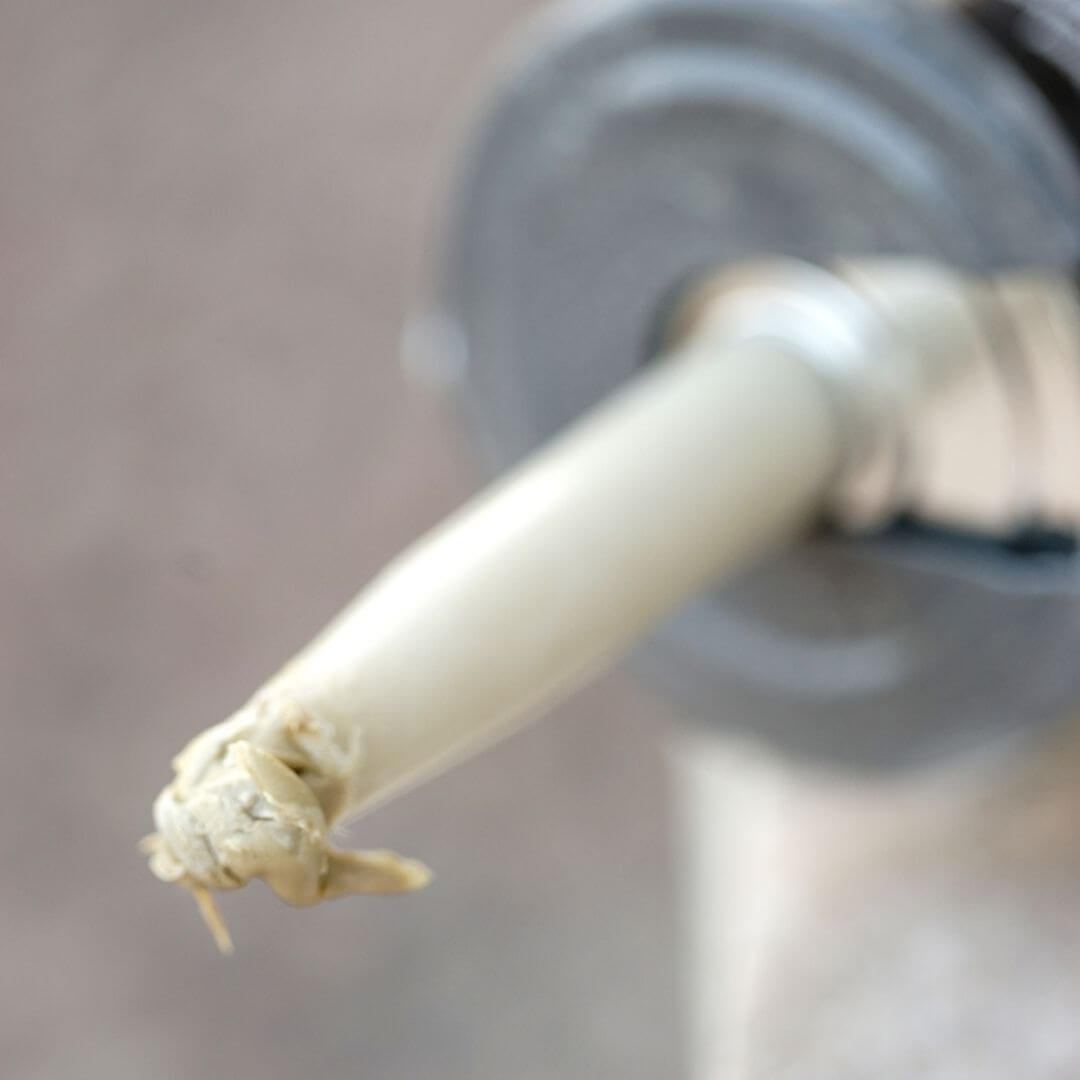
Removing old caulk from walls is one problem, but keeping caulk in natural liquid form in the tube is another. Sometimes, the mixture will harden and won’t flow properly if you leave caulk tubes in your basement for months.
Caulk tends to harden in its tube after some time. In this case, if you remove the hardened caulk at the tip of the tube, the caulk will flow normally. Sometimes even unopened tubes have a limited shelf life.
How can we solve the issue? How can you use the opened or unopened caulk tube fresh and liquid?
The most efficient way to store a medium length open tube is to let some excess material flow through the tip and form a stopper. After a few months, the plug may extend the entire length of the nozzle, but you can push it out with a steel rod (from the tip). Also, it is vital to store the silicone tubing and fittings in a cool, dry place.
How To Choose The Right Caulk?
Now that you know you have to remove the old caulk from the wall, you might wonder how to choose the new one and apply it professionally. Did you know? There are different types of caulks, and choosing the right one is essential in your home improvement process.
While there are tons of different caulks available in the market, spotting the nuances on the label can be difficult if you don’t know what you’re looking for. The following tips will help you understand these growing options and choose a suitable caulk for a specific job. [7]
Acrylic Latex
The easiest caulk to use and smooth out is Acrylic latex caulk. It is also the only caulk that can be cleaned with water. Look for the version that says “siliconized.” Adding silicone to acrylic latex improves adhesion and flexibility.
Polyurethane
Polyethene caulk is generally stronger than other sealants, making it suitable for driveways and other heavy use areas. But its stickiness makes it challenging to use. Check the label before starting your home renovation, as you may have to wait a few days.
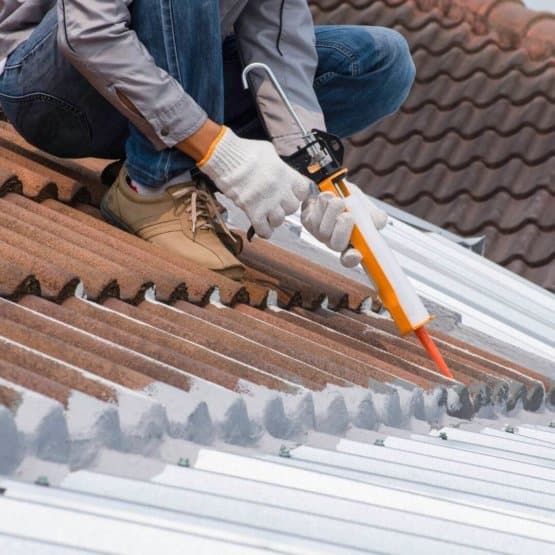
Solvent Type
Many solvent-based caulks are great for roofing because they won’t degrade in direct sunlight and can be applied to damp surfaces. But they are sticky and hard to apply cleanly.
Hybrid
Most hybrid seals combine silicone and polyurethane for excellent adhesion, flexibility and durability. They are easier to apply than polyurethane but not as easy as acrylic latex. Use the price as a guide: High-quality hybrids are often the most expensive seals on the shelf.
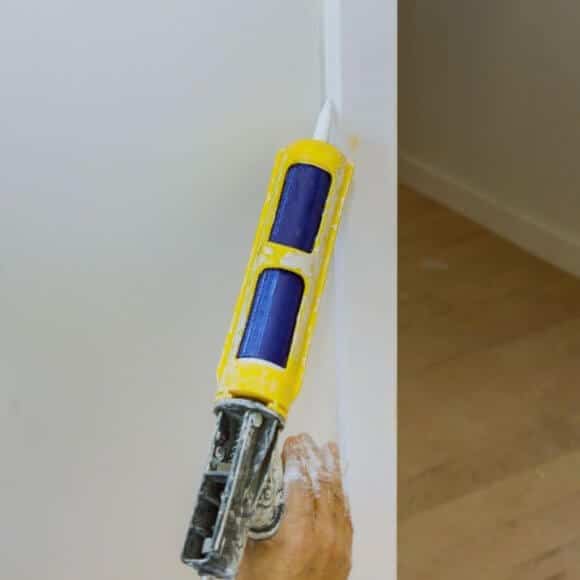
Which Caulk To Use For The Wall?
Acrylic latex caulk is usually the all-purpose material. It’s an excellent choice for almost any interior renovation project.
Acrylic latex is inexpensive and fast drying, suitable for many different applications. Best of all, it can be painted and is sometimes referred to as “painter’s caulk.”
Use this caulk to fill in small gaps and imperfections in wood panelling and seal the gaps between the pieces of wood or wall you plan to paint. It is recommended to use this caulk on dry areas or parts that may be exposed to moisture (like exterior panels and trim) with a full coat of paint.
Keep in mind that acrylic caulk is unsuitable for outdoor painting projects. It does not tolerate temperature changes or high humidity very well.
How Much Does Caulking Cost?
Caulking might seem easy, but it requires a professional hand to make the results look smooth and natural. Some of you might prefer paying for the service, so let’s discuss the price range of caulking.
Whether a professional uses caulk for the first time or removes and replaces existing caulk, this is a relatively easy project.
If you hire a handyperson, you can expect to pay between $40 and $80 per hour for labour and materials. Contractors might give you a quote for the entire project based on the size of the job. They look at your home and estimate the time, materials and labour needed.
For indoor work, such as, for example, caulking a bathtub or shower, the national average costs $110 to $280. Exterior waterproofing around a 2,000-square-foot home can cost $750 to $2,000, or about $2 to $4.50 per linear foot.
The time it takes to complete a caulking job usually depends on the area that needs to be caulked. A 2-person crew can take a whole day to seal the perimeter of a 1,500-2,000-square-foot (approximately 200-240 linear feet) home. However, a person can usually finish caulking a tub or shower in a few hours.
Wrapping Up
Caulking is a critical step in a painting project. It helps you feel any gaps and keep the house clean and strong. Choosing the wrong type of caulk, or using it lightly or incorrectly, can get in the way of your project and become a costly or time-consuming mistake.
So, always read the label and check the manufacturer’s website. Even if you don’t use caulk yourself, make sure the paint company you hire knows which one to use on which substrate. Hire the best professional painting company you can find, and rest assured that their technicians are knowledgeable caulk experts.

Michael Davis is a heating & plumbing expert who currently works as independent contractor in SC. He also writes for Plumbertip.
For almost 10 years he worked on various plumbing tasks across South Carolina.