Having a leak from ceiling isn’t just a nuisance. In fact, it can cause severe damage to your entire house if you don’t fix it as soon as possible. Doing a throughout leak in ceiling repair takes time and skills.
Still, with a little knowledge, you can complete it without asking for professional help. Completing a leak in ceiling repair process isn’t as difficult as it seems.
However, if you don’t complete it the right way, the new leaks will just keep on appearing. Also, you have to find the leak so you can repair the core of the issue. Bellow, you can learn how to do this the right way.
How to Find a Source of the Leak

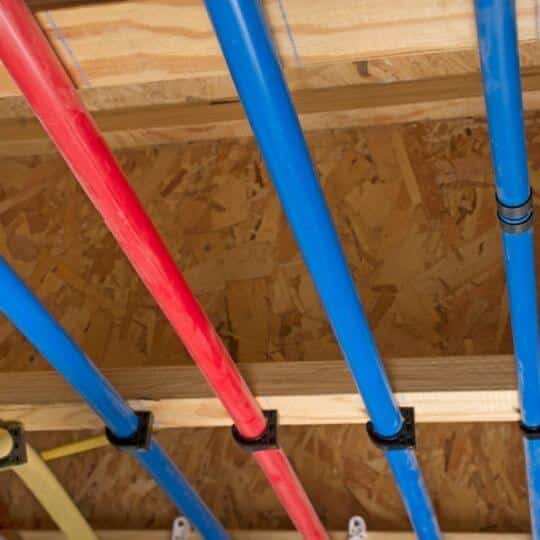
When you have a leak, the first thing you have to do is find the source of the problem. If you have leak in ceiling from upstairs shower, you likely have to contact a plumber.
This means that something is probably wrong with the pipes, and you have to act fast. If you don’t, the pipes could sustain enough damage to put your entire home in danger.
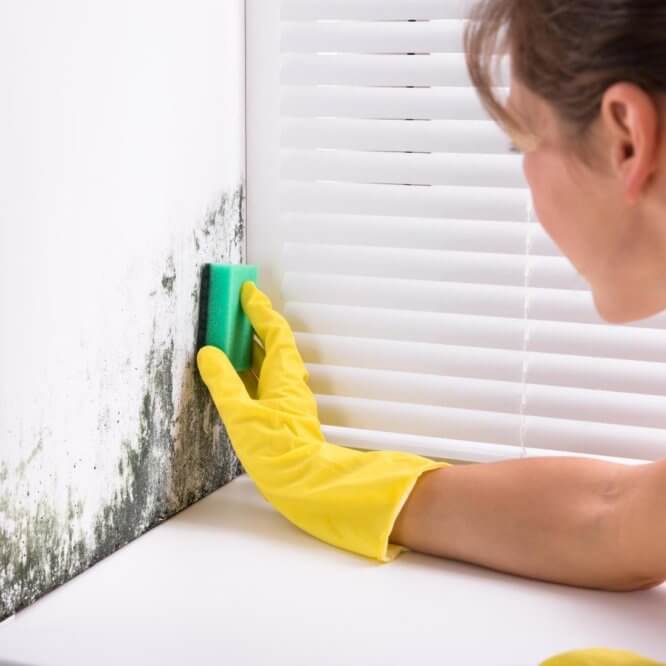
On the other hand, if you have a leak in ceiling from roof, you probably have mold issues. Another culprit could be rotting wood or bad screws.
This is yet another problem that you shouldn’t hesitate to solve. Any water can seriously disrupt your entire property. Not to mention mold, which can be damaging to health. [1]
Small leaks can become big problems during just a short amount of time. Other than mold, they cause rotted sheathing and framing, damaged ceilings, and destroyed insulation. [2]
This is why you should act the moment you notice those dreadful water stains. The faster you repair them, the smaller the damage – and the repair bill.
How to Locate a Source of a Leaky Roof
If you notice some of these signs:
- Water stains
- Dark stains
- Drips from the ceiling
- Mold
- Wet walls and/or ceiling,
You probably have a leaky roof. Repairing it isn’t too big of an issue; however, finding the source is.
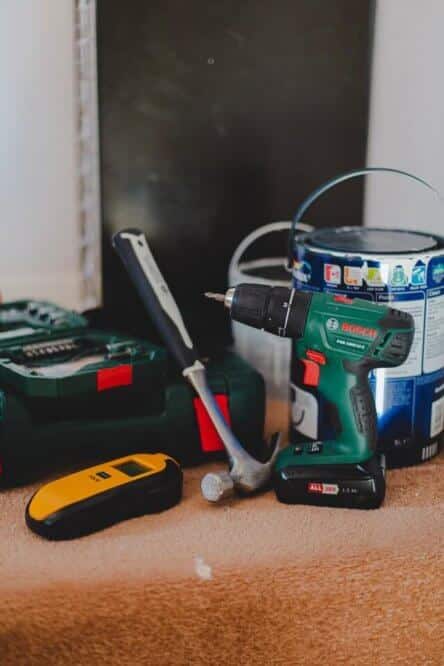
First off, you should take some right equipment, such as great roofing shoes. Even though shoes don’t seem necessary in this situation, they actually are.
Roofs are slippery, and you can easily fall and hurt yourself. Even if you don’t end up climbing up the roof, roofing shoes can be used in various ways.
They are typically more waterproof than everyday shoes, so you can use them to fix any leaks you may have. Not just that, but as they aren’t slippery, you won’t risk falling while walking on wet tiles or stone.
Now that you have prepared yourself, try looking at the roof uphill from the water stains. Try to notice any roof penetrations.
Usually, when you have a leaky roof, there has been something that damaged it. In fact, even older roofs aren’t prone to leaking on uninterrupted shingles.
Penetrations are usually roof vents and plumbing, dormers, chimneys, or anything else that goes outside the roof.
If they aren’t just above the leak, it doesn’t change much. Water can travel in any direction before reaching your ceiling.
If you can enter the attic, you should look for a leaky spot with a flashlight. Chances are you can quickly notice water stains, mold, or black marks.
When you can’t reach the attic or have a vaulted ceiling, things get tricky. The best thing you can do now is to take those roofing shoes and go up the roof for inspection.
How to Find Difficult Leaks

The best way to find difficult leaks is to ask someone to help you, then go up the roof. Take a garden hose with you, as it will be your primary tool.
Then, spray the water onto every roof penetration. Make sure you have isolated the areas where you plan on running the hose.
This way, you’ll limit the leak locations. If you want to complete a leak in ceiling repair, you must first find the exact spot. Without proper isolation, you cannot be confident enough that you’ve discovered it.
Soak one spot, wait for a few minutes, then ask your assistant to go downstairs and check the ceiling. If the drip doesn’t appear, soak another spot.
Keep in mind that this process can take over an hour! Also, the leak doesn’t have to appear right underneath the hose. In fact, it usually won’t.
If you don’t notice the drip, remove shingles in the area you’re checking. Once you’ve removed them, you’ll clearly see water stains or other evidence of the leak. You may even find rot on the damaged place!
Leak in Ceiling Repair Process

Now that you have located the leaky spot, it’s time to do something about it. A leak in ceiling repair is tricky, but chances are you can do it. Here’s the step-by-step process.
Step 1. Stabilize the Situation
You don’t want to risk any more damage being done, especially if you have a severe leak. Move any valuables from the area to ensure they remain safe.
If the water is leaking heavily, take a bucket and place it underneath to contain any water. Even if you have a smaller leak, having a bucket in the spot is a good idea.
You never know how much water can go through the ceiling the next second. To ensure everything goes into the bucket, create a small hole in the ceiling.
Do this by using a screwdriver or awl. This is especially recommended if your ceiling is covered in drywall, as it absorbs water or disperses it. By doing this, you are directing water towards the bucket.
Step 2. Locate the Leak
Now, you have to find the exact spot of the leak. Even if you have to cut up a spot in your ceiling as we’ve mentioned, don’t panic.
The damage is minimal compared to what could happen if you don’t locate the exact spot.
If the trick we’ve mentioned before doesn’t work, try laying toilet paper sheets along ceiling joist and pipes. The toilet paper will quickly show when it gets in contact with water.
This will help you in your search.
Step 3. Dry Everything
Before you start the leak in ceiling repair, make sure everything is completely dried. Not only will this help you fix everything, but leaving the ceiling cavity wet can cause mold.
If you have a minor leak, it will likely dry on its own. However, if you have a more massive leak, you should dry it out with the fan.
Step 4. Repair the Damage
When everything is prepared, it’s time to repair the roof damage. How will you do this depends on the size and type of your leak. If you have a small hole, try touching it up a little bit.
However, it is always better to find a way to repair the roof physically.
If you have significant damage, you may need to replace an entire chimney, vent, or even a whole roof! Never try to simply cement the bigger holes, as this will only delay the big problem. Be careful with waterproof sealants.
If you have to replace an entire ceiling, remove the damaged drywall first. This will likely expose ceiling joists, which will make the entire process much easier.
Once you’ve replaced the faulty part, paint everything to hide the previous damage.
I Have A Leak In Ceiling, Who To Call?

If you think this process is too complicated for you, call a professional as soon as possible. Water leaks are no joke, and they can cause huge damage to your property.
As we’ve already mentioned, leaks in the ceiling can cause:
- Mold
- Plumbing damage
- Wall damage
- Structural erosion
Depending on the source of the leak, you should call a plumber or a handyman. If you aren’t certain where the leak is, calling a good plumber is always a good idea.
Pipe damages are more common than roof ones, so chances are a plumber is the guy who will help you.
However, if you are sure you have a leak from the roof, a professional handyman might be a better choice.
They are usually cheaper compared to plumbers, but they usually can’t deal with severe piping damage.
Bottom Line
A leak in the ceiling isn’t something that should be taken lightly. Even if the only problem you see is water stain, this means something is seriously wrong.
In fact, when water damage becomes noticeable, the problem already became severe.
This is why it’s recommended you do a good roof inspection every year or two.
If you don’t fix your roof in time, you are risking damaging your property and your health.
Completing a roof in ceiling repair process isn’t too difficult of a task. You may be able to complete it on your own.
Even if you can’t, the money you’ll spend on repairs now is much smaller compared to what may happen. Don’t risk waiting.

Michael Davis is a heating & plumbing expert who currently works as independent contractor in SC. He also writes for Plumbertip.
For almost 10 years he worked on various plumbing tasks across South Carolina.