If you have a garden with a hose, you likely know how important it is to learn how to winterize hose bib. When winter is approaching, this is probably the first thing you should do.
In case you ever had to deal with frozen pipes, you know how difficult they are to thaw. This is why it’s so important to make sure your outdoor water supply lines are properly turned off and ready for cold weather. If you know how to prevent freezing, you’ll reduce the chances of having much worse issues later on.
Below is a step-by-step process on how to winterize hose bib properly.
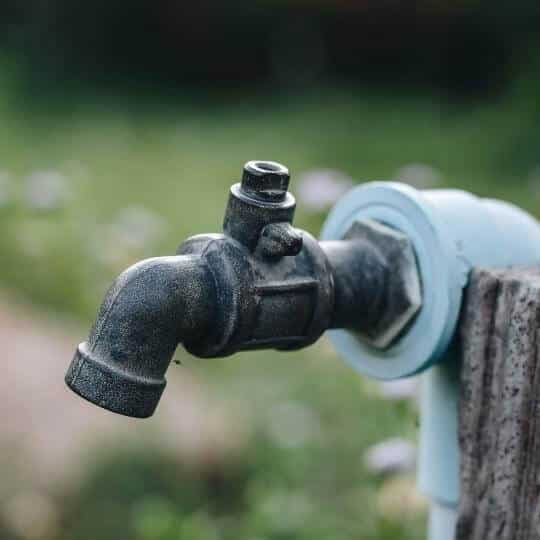
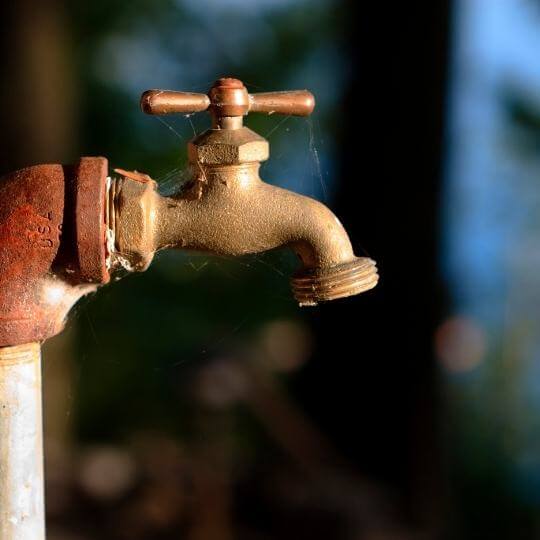
What Is a Hose Bib?
To understand why knowing how to winterize a hose bib is important, first, you need to know what a hose bib is.
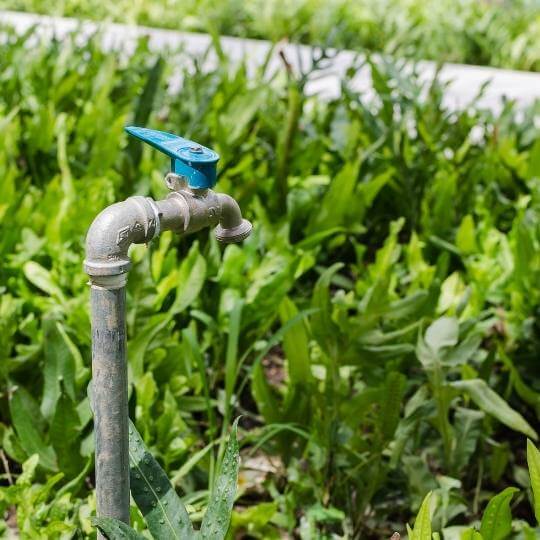
To put it simply, a hose bib is a faucet (or more of them) located outside of your home. You might know it under one of these names:
· Spigot
· Exterior faucet
· Hose faucet
· Sillcock
· Hose valve
· Outdoor tap
A typical hose bib comes with a ½ or ¾ inch threaded pipe that you can screw a garden hose on. It also has a handle on its top, so you can open or close the valve.
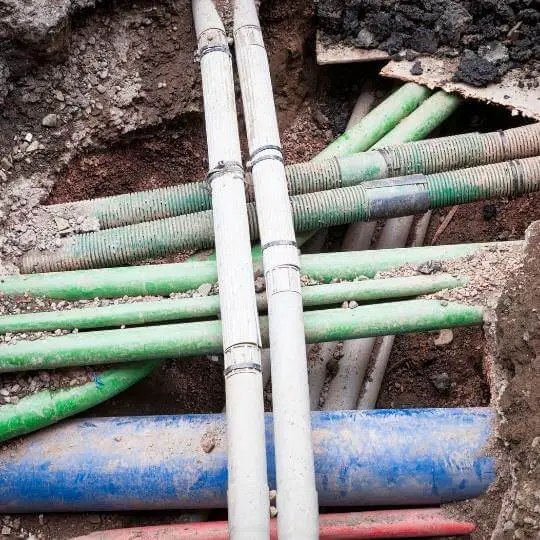
This faucet is connected to the main pipping connected to your property’s water system. As the home’s plumbing system is connected to this outside faucet, it’s more prone to freezing. While you can find a frost free hose bib, they are expensive. Not to mention that the replacement process is quite challenging, which is why people rarely opt for it.
This is why to prevent freezing, you need to winterize outdoor faucet and keep it safe in a cold climate.
Why You Should Never Let a Hose Bib Freeze?
Many people already know why it’s important to thaw a frozen pipe, but we’ll repeat it just in case.
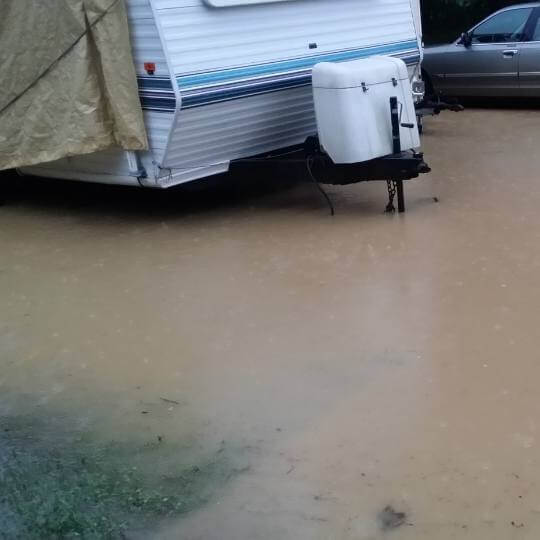
There are many bad things that can happen if you let any of your pipes freeze. Some of the issues that can happen are:
· No water in your house
· Leaks
· Burst pipes
· Floods
As you can see, a frozen hose bib can lead to many dangerous situations – some of which might even damage the structure of your property.
At What Temperature Do Hose Bibs Freeze?
According to Insurance Institute for Business and Home Studies, the biggest number of water damage claims occurs in January and February. These are also the coldest months in the US.
Overall, pipes begin to freeze if they are exposed to a temperature of 20 degrees Fahrenheit for at least six hours. The lower the temperature, the less time it takes for them to freeze. Knowing how to winterize exterior hose bib can help you keep your plumbing safe even during these periods.
How to Winterize Hose Bib?
When winter approaches, the first thing you need to do is to prepare your outdoor pipes. It’s important to do this before the cold weather comes. Once the pipes are frozen, you will no longer be able to complete this task. Be on the lookout and watch the weather forecast. If you notice that the temperature is supposed to lower in the next few days, make sure to do these steps on time.
Here is a guide on how to winterize hose bib:
Step 1
The first thing you should do is to find the hose bib shut off valve. They are usually located in the basement, utility room, or crawl space. The next thing you should do is shut them off. If you don’t know how to turn off hose bibs for winter – don’t panic. This is a simple step. If it comes with a lever, the lever has to be parallel to the pipe. On the other hand, if it has a handle, it has to be turned entirely clockwise.
Some households have more than one hose bib. You need to locate and turn off all of them. Missing even one will mean you won’t be able to winterize your hose bib properly.
Step 2
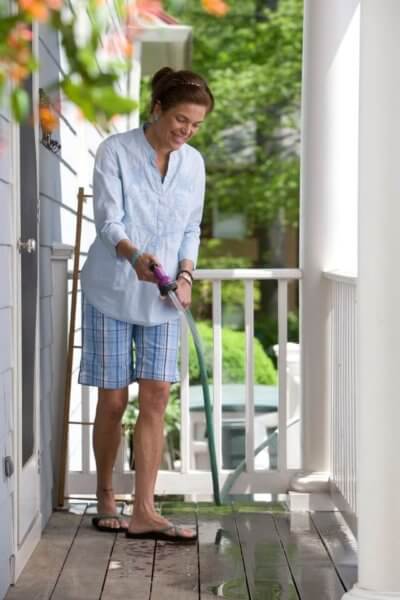
Next, you want to detach all hoses from the bibs. Don’t keep them attached. Even if you’ve successfully drained the water and ensured everything is drained, there might still be some leftover water in the hoses themselves. As the temperature lowers, this water can freeze, damaging not just the hose but the hose bib as well.
Detach the garden hose, but don’t leave it outdoors. Instead, bring it inside. This will keep it protected from the cold. Not only will this ensure your hose stays in great condition, but it will help your budget, as you won’t have to purchase a new hose in the spring.
Step 3
Now, it’s time to start opening hose bibs faucets. Do this after you’ve turned off the hose bib. Then, go outside and find all the outdoor faucets and turn them on. While this seems insignificant, it is essential in preventing your outdoor faucets from freezing.
Wait until all the water runs out. However, don’t turn the faucets off. Instead, leave them open. Don’t worry, as the valve is turned off, this won’t cause any water drainage problems in your yard. Quite the opposite – it will ensure any water residue drains away, leaving your pipes empty and ready for winter.
Step 4
Once the winter is over, go over everything, but in the opposite order. First, turn off all the faucets, then reconnect the hoses if you’d like. Turn on the hose bib shut off valve, and wait for the water to run.
Don’t forget to do this step only after the temperature has risen. If you do this while the forecast still says that the cold weather is possible, you’re risking your pipes freezing later on.
How to Know if Your Pipes Have Already Frozen?
Noticing if the indoor pipes have frozen is quite easy. Chances are you won’t have any water running through your plumbing. While the same can occur if your outdoor plumbing has frozen, as well, this only happens if the outdoor pipes are connected with the indoor ones.
Here are some signs of frozen pipes outdoor:
· No water coming from the outside faucet
· Frosted pipe
· Odd smells coming from all faucets connected to the outdoor pipes
If you notice any of these symptoms, it means that the pipes have already frozen, or started to freeze. It’s important to unthaw pipes quickly, to avoid bigger damages. As mentioned before, frozen pipes can lead to huge damage to your property.
If you know how to drain hose bib for winter, you’re reducing your chances of harming your entire plumbing system, and you will prolong the life of your pipes.
Conclusion
Learning how to winterize hose bib is an important step for any homeowner who has outdoor faucets. Frozen pipes are a serious problem and they can cause great damage. Fortunately, with a few easy steps, you can prevent this from happening.
You don’t need to call a professional to help you with winterizing your hose bib. This is something that you can entirely do on your own.
Of course, there are a few steps you can make to keep your pipes from freezing, such as:
· Fix any drips
· Use insulation where possible
· Drain the system when you’re not using it for a prolonged period of time
Don’t allow your pipes to freeze. Take prevention methods beforehand.

Michael Davis is a heating & plumbing expert who currently works as independent contractor in SC. He also writes for Plumbertip.
For almost 10 years he worked on various plumbing tasks across South Carolina.