Outdoor facilities such as faucets are very useful but need to replaced more often than indoor ones. The fact that extreme weather conditions cause damage in time obliges you to learn how to replace outdoor faucet.
DIY skills can save you a lot of money in handyman fees. They can also offer you a pleasant pastime around the home if you like doing repairs yourself.
Keep on reading to find out what outdoor faucets are used for and how to replace them.
What are outdoor faucets?
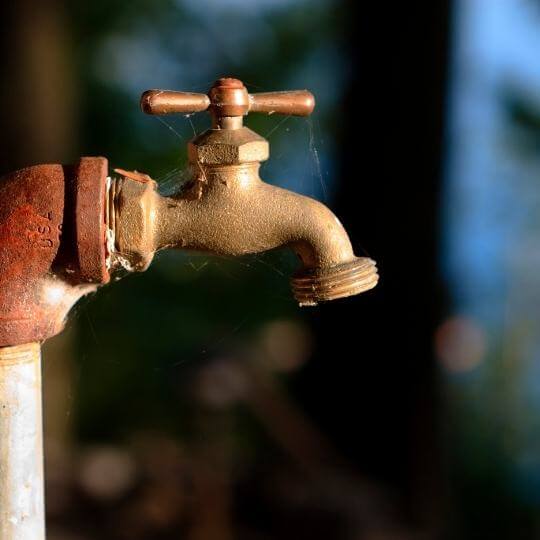
Outdoor faucets are known under different names, such as spigot, water outlet, and hose bib. What they do is to deliver water using a hose connected to the outlet opening.
How to replace outdoor faucet techniques can depend on the type of spigot you have installed.
The parts of an outdoor faucet include:
- Handle – used to turn water on or off;
- Threads – they connect the hose and the outdoor faucet;
- Bonnet nut – secures the stem of the outdoor faucet to the base;
- Washer – the rubber gasket that seals water when you turn the faucet on;
- Valve seat – is the gate that stops water from flowing the faucet is off;
- Bonnet packing – a piece of rubber inside the bonnet nut whose role is to seal the water at the top of the faucet hose. It tends to wear down in time, causing leaks from bonnet nut or spout.
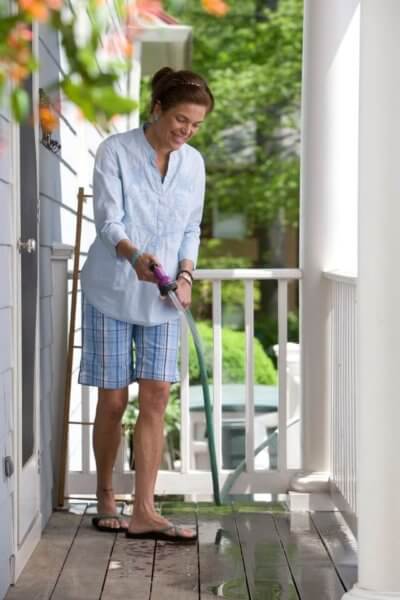
If you own a home, chances are you have at least one outdoor faucet in your yard. They are very practical and can assist you with completing a variety of outdoor chores:
- Watering your garden and flower beds;
- Washing your car and lawnmower;
- Filling your pool with water.
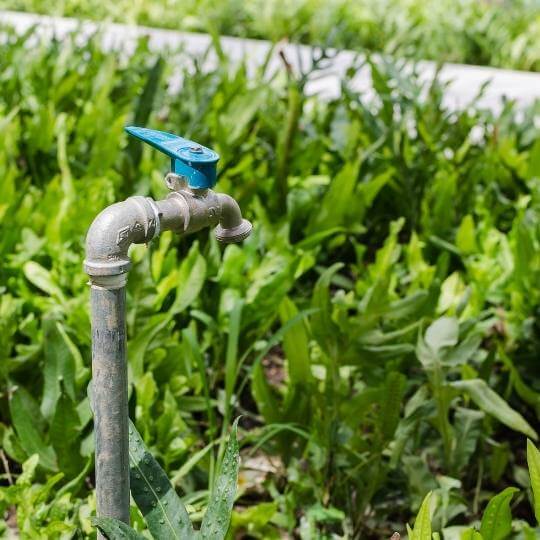
There are multiple outdoor faucet types:
- Traditional compression valve – these are turned on by turning the handle to the left. Not recommended in colder climates;
- Frost proof outdoor faucet – they prevent water from turning into ice through a metal tube that reaches into your house;
- Hose bib faucets – often installed on the side of homes, not resilient to cold;
- Ball valve faucets – they have a ball inside the valve chamber but flow control is reduced;
- Frost Proof Yard hydrants – installed in large outdoor areas where large amounts of water are needed;
- Anti-siphon valve – they prevent backflow and are easy to install by DIY-ers;
- Outdoor faucets with different handle types: round wheel, tee handle, turn hose handle, better grip handle, etc.
Why do outdoor faucets become defective?
There are multiple reasons why outdoor faucets can become defective, but the main cause are the elements. Here are some things to look at when trying to lengthen the life of your outdoor faucets:
- Wear and tear
Every object has a limited life expectancy, and so does an outdoor faucet. A hose bib will last anywhere between 15 and 25 years, but lifespan can be shortened by certain factors. These include heavy usage, freezing damage, and having a vacuum breaker attached to the end of the hose.
- Poor water quality
Outdoor faucet leaks when turned on? Hard water can be a cause. While hard water is not a health issue, its effect on plumbing systems can be devastating. Calcium and other minerals buildup compromises the good functioning of faucets until they break and start leaking. Consider getting in touch with a plumber who can treat hard water. This will protect your entire plumbing system, including your water heater.
- High water pressure
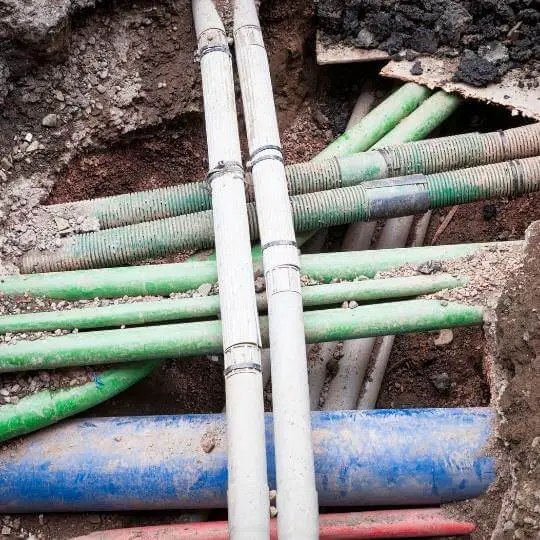
High water pressure can burst your plumbing system and cause pipes and outdoor faucet to break. Try to keep the pressure below 80 psi to make sure your plumbing system can handle it.
- Rust and corrosion
Depending on the material that your outdoor faucet is made of, corrosion can damage its parts over time. Threads can break inside the faucet, causing it to leak and increase your water bills.
- Extreme heat
Summer months can put an extra strain on your outdoor plumbing system. You could be dealing with expanding pipes than can burst and low water pressure. The faucet gasket is most likely to fail due to extreme temperatures, but this can be easily replaced individually.
- Freezing temperatures
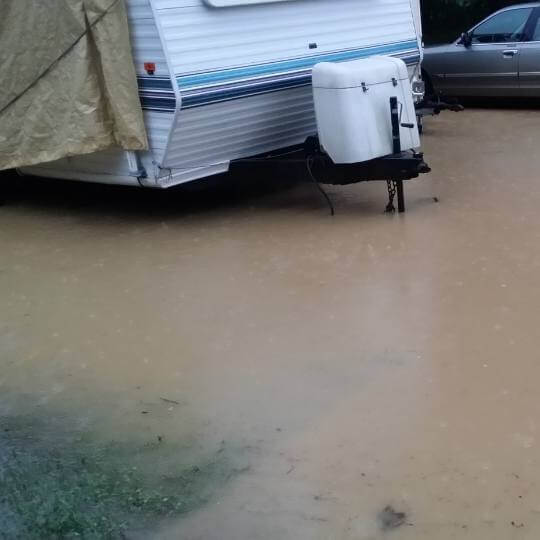
With outdoor faucets it is very important to remember detaching garden hoses at the end of the warm season. You also need to close the inside valves and drain the faucet fixture before freezing temperatures hit.
The problem is that water expands when it freezes. Ice occupies 10% more volume than the same quantity of water. When a water pipe is already full with liquid water, there is no room for expansion in case that water freezes. The result are damaged and frozen pipes, faucets, and joints.
In order to protect your outdoor faucets from freezing, close the shutoff valve controlling the flow of water to the outdoor faucet. Disconnect hoses and drain the faucet to eliminate residual water. This short video shows you how to prepare your outdoor faucets for winter. [1]
Another option is getting a frost proof outdoor faucet. Even so, you will still have to drain the rest of your outdoor plumbing system to protect it from freezing damage.
Also, you can get a faucet cover to protect your spigot both from extreme cold and heat. Even so, it’s not recommended to leave water inside the faucet during winter.
So How to Replace Outdoor Faucet?
Don’t know how to loosen and outside water faucet? Learning how to replace a house bib is a good idea, as plumbers can charge a lot of money on this service. An outdoor faucet repair kit can help, but there are several steps you need to follow:
- Assess the damage
Before considering how to replace outdoor faucet, see if you can fix it. Some possible repairs are tightening the packing nut, replacing the washer, cleaning threads, and replacing old Teflon tape.
If the faucet is leaking from the spout, chances are the inner mechanism is damaged. In this case, replacing the entire faucet is the most time- and cost-effective solution.
- Gather tools and supplies
The water is turned off, you are on your knees, and you realize you are missing a tool to complete the job. In order to avoid this unpleasant situation, make sure you have all the required supplies before beginning the repair. These are: replacement faucet, two pipe wrenches, spray lubricant, a hard bristle brush, Teflon tape, and old rags.
- Turn water supply off
Any plumbing job should start with turning the water supply off. Water bursting in the middle of a repair is the last thing you need.
The main water shutoff valve is usually located near the water meter. In colder regions, it can be located in the garage. Not sure which valve shuts water off? Close one valve and see if water stops running.
In the end, open the spigot in question before removing it, in order to drain remaining water.
- Remove the old faucet
Take the old spigot out and look for a direct replacement at the hardware store. Look at the thread size (1/2 or ¾ inches) and the type of spigot (male or female). Male threads are exposed at the outer layer of the pipe. Female threads, on the other hand, are on the inner surface of the water pipe.
Remove the defective faucet by grasping it together with the supplying pipe. Make sure you keep the supply pipe steady to avoid damaging the entire system. Twist the faucet counterclockwise with a second pipe wrench.
If the faucet is hard to remove, don’t force anything. Spray lubricant in and around the joint and let it sit for several minutes. This should help with loosening the threads.
- Clean threads
Brush the threads with a hard bristle brush to clean corrosion and debris. Without cleaning, the new spigot fitting will not adhere perfectly to the pipe. If you notice signs of corrosion, use a spray lubricant such as WD-40 to dissolve the corrosion. [2]
- Seal threads
Use plumber’s tape of Teflon tape. Start at the base and overlap approximately half of the width of the tape until reaching the tip. This prevents water from leaking out.
- Install the new spigot
Install the new faucet by hand and then tighten it with a wrench. Wrap a towel around the new faucet to prevent damage to the protective finish.
- Test the new faucet
Turn water on to check for leaks. If you know how to replace outdoor faucet, you should not have any leaks.
Whether your outdoor faucet is leaking or producing a hammering sound, these are signs you might need to replace it. Now that you know how to replace outdoor faucet, get down to work and complete this simple job. Developing your plumbing skills can be very handy and useful during tough

Michael Davis is a heating & plumbing expert who currently works as independent contractor in SC. He also writes for Plumbertip.
For almost 10 years he worked on various plumbing tasks across South Carolina.