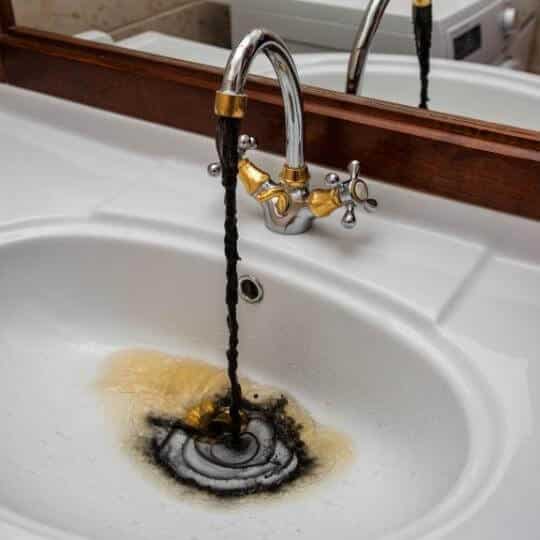
The first time you notice even a minor nuisance when it comes to water heater in your bathroom, basement, or kitchen, don’t ignore it! A water heater leaking at relief valve can be a tiger for the upcoming water damage of floors, even walls, in your home.
It doesn’t have to be that a leaking water heater would indicate large problems, but it can certainly be a sore point in the future. This is especially a possibility if you have a relief valve leaking on water heater.
In the worst-case scenario, it would end in a major flood that would cost you thousands of dollars.
What is more, no matter of the money, a water heater leaking may be a health concern, as wet areas make perfect surrounding for mildew and mold.
The EPA confirmed the threat mold spores represent for human health.
If you have noticed water heater leaking at relief valve, follow our diagnosis tips and 5 expert advice on how to fix it.
Is There A Reason To Panic?
Just as we mentioned above, don’t panic at the first drop you notice. Even though seeing a puddle of water may be disturbing, here are the signs that will calm you down.
A few drops around the water heater may indicate that the water tank is corroded or that the valves in your home got loose.
On the other hand, it can be the reaction to a condensation.
Condensation tends to accumulate water, and it will drip on the floor, especially during damp weather if the water heater is in the basement.
However, even though there is a problem with your water heater, it doesn’t have to be as bad as it looks like.
For example, it would be much worse if you had a leak under bathroom floor!
Leaking from the top is a common issue with water heaters in general, and this is totally fixable and not so expensive.
Yet, if you still need to set things right and check once more the leaking problem, move on to the next chapter.
Inspect the Problem More Thoroughly
If the problems still seem more serious to you, here is what you should do to determine the source of it.
But, note that a leaking water heater is potentially dangerous, and you would want to turn off the power supply and water supply.
Yet, to identify the exact leak spot, you would have to turn the water supply on afterward.
First things first, here is what should you do for the beginning:
- Inspect plumbing fittings, as these are the most reliable indicator you have a leakage problem.
- However, even though you don’t find anything here, inspect other sources, especially water pipes and anything that is placed overhead.
- You can also place some towels on the floor when it is dry completely. Check the towels after a few hours.
- In case water reappears, that means everything points out to a water heater.
The Most Common Leaking Areas
Numerous factors can cause leakage of a water heater.
As you want to conduct a proper diagnosis before you get to work, let’s take a look at the areas to check:
- Connections
Hot water outlet and the cold water inlet connections are placed at the top of the water heater.
This is not a tough task, and you can find down below how to fix the connections leakage.
- Valves
We are talking about the temperature and pressure relief valve on one hand and the drain valve on the other.
The temperature and pressure relief valve is a safety device for cases when the water tank becomes too hot.
In more severe situations, the excessive amount of pressure can lead to bursting, while the temperature and pressure valve reduces the pressure by releasing some of the water out of the tank. [1]
You should inspect this valve itself, but the spot when it enters the tank.
If water is flowing from the attached pipe when the valve is closed, it means it is not in function.
It is also possible for the valve to relieve excessive pressure from inside the tank when the valve is opened.
This is, generally, a good sign, as you can fix it easily, even though it is not a totally naïve task.
We have the drain valve on the other side, which is located near the bottom of the tank. In the best case, you won’t notice any signs of moisture, but, even if you do – this is not a serious problem and it can be fixed.
If you’ve ensured you have a water heater leaking at relief valve, you should follow the further steps we give you.
Water Heater Leaking At Relief Valve – Solutions
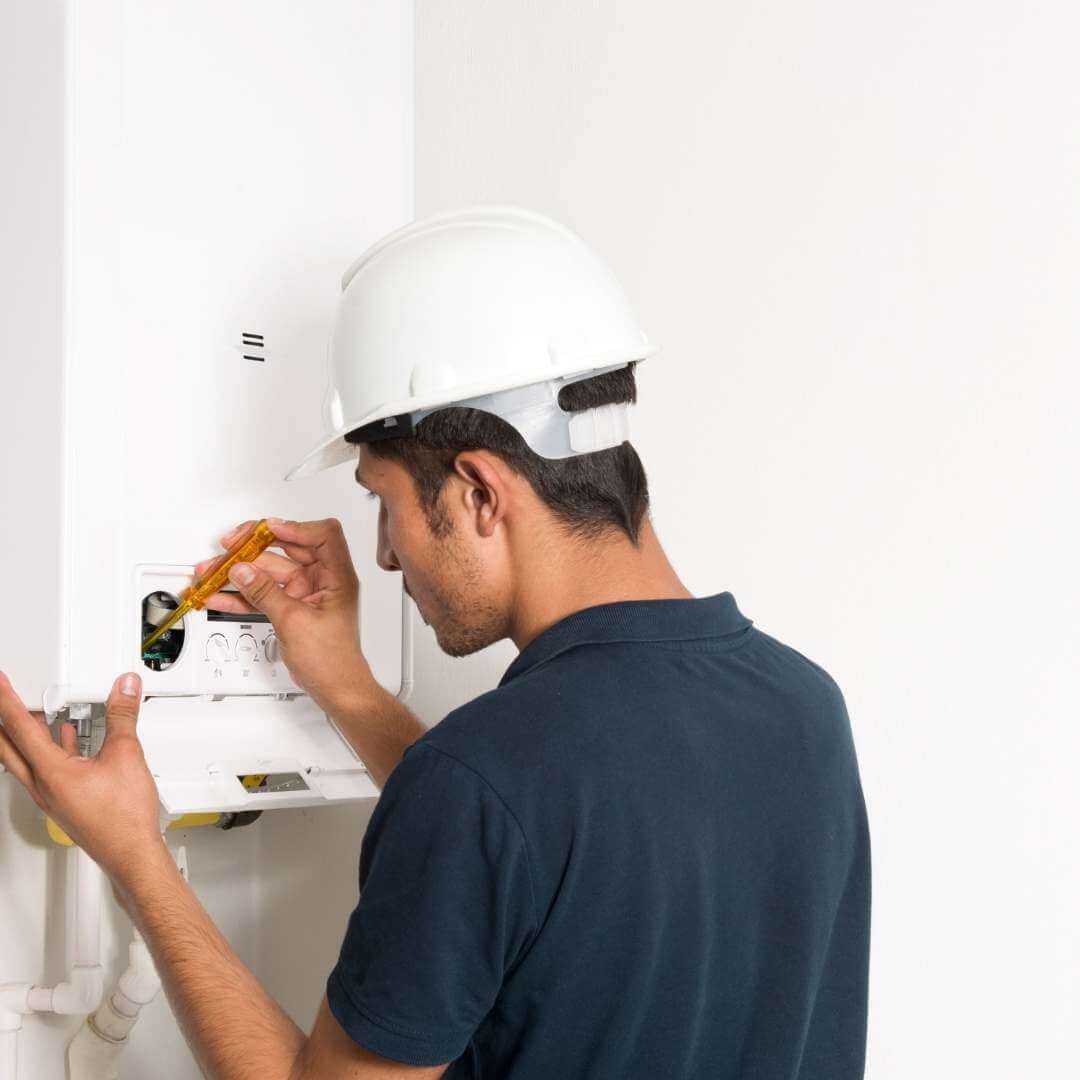
If you have even minor experience in the plumbing area, it shouldn’t be a problem for you to fix a water heater leaking at relief valve without calling a plumber.
Just as we mentioned above, the temperature and pressure relief valve does exactly what its name suggest – relieves the pressure from the tank. [2]
In case the tank overheats or aggregates excessive pressure, the valve allows water to escape, which relieves the pressure.
If you notice this is the issue, simply lower the thermostat setting, which will reduce the temperature.
Next thing to do is to turn the water and gas back on and keep track of the situation.
If you notice there is no excessive pressure or overheating, that can only mean one thing – you have a faulty temperature and pressure relief valve.This is what is causing the water heater leaking at relief valve.
If you want to try to fix it, place a bucket under the discharge pipe and pull the valve tub up.
This will open it, but you want the tap to point straight out.
Doing this will potentially remove debris from the valve, as debris is a common reason for its malfunction. If the leakage and flushing are still there, you can do nothing about this than to replace the valve with a new one.
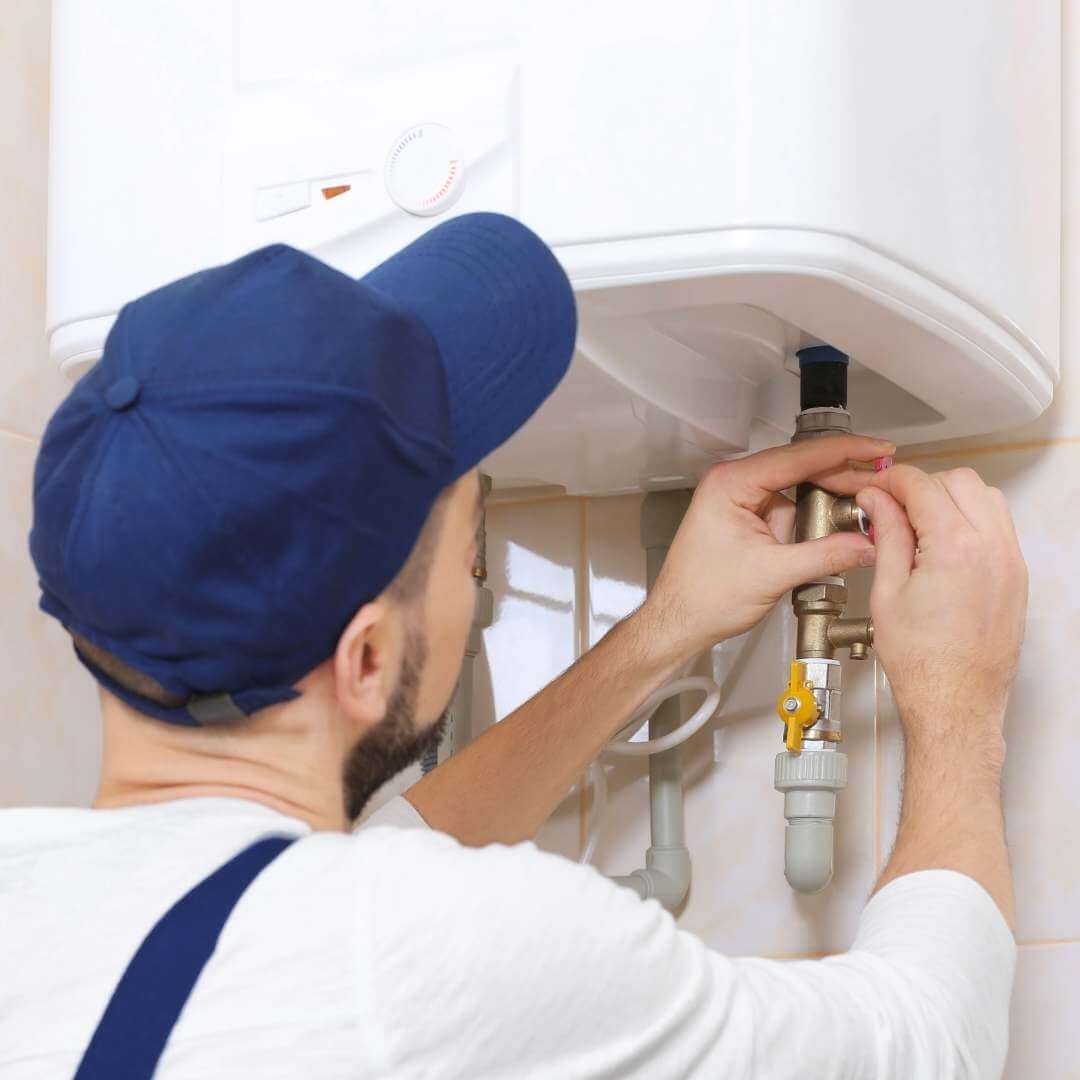
How To Replace Pressure Relief Valve
For this project, you’ll need:
- A pair of channel locks
- Large adjustable wrench
- Teflon tape
- Screwdriver and spare screws
- New pressure valve
Here’s how to replace pressure relief valve when you have a faulty water heater.
Step 1
Before you get to work, make sure to empty the tank so the water level doesn’t exceed the valve. If there is no water when you open the valve, this means you are good to go.
Also, you should always make sure that the circuit breaker is turned off, or that you’ve set the gas control valve to the safe PILOT setting.
If you leave the power on when the tank is partially or entirely drained, you can damage the water heater, or even cause severe injuries.
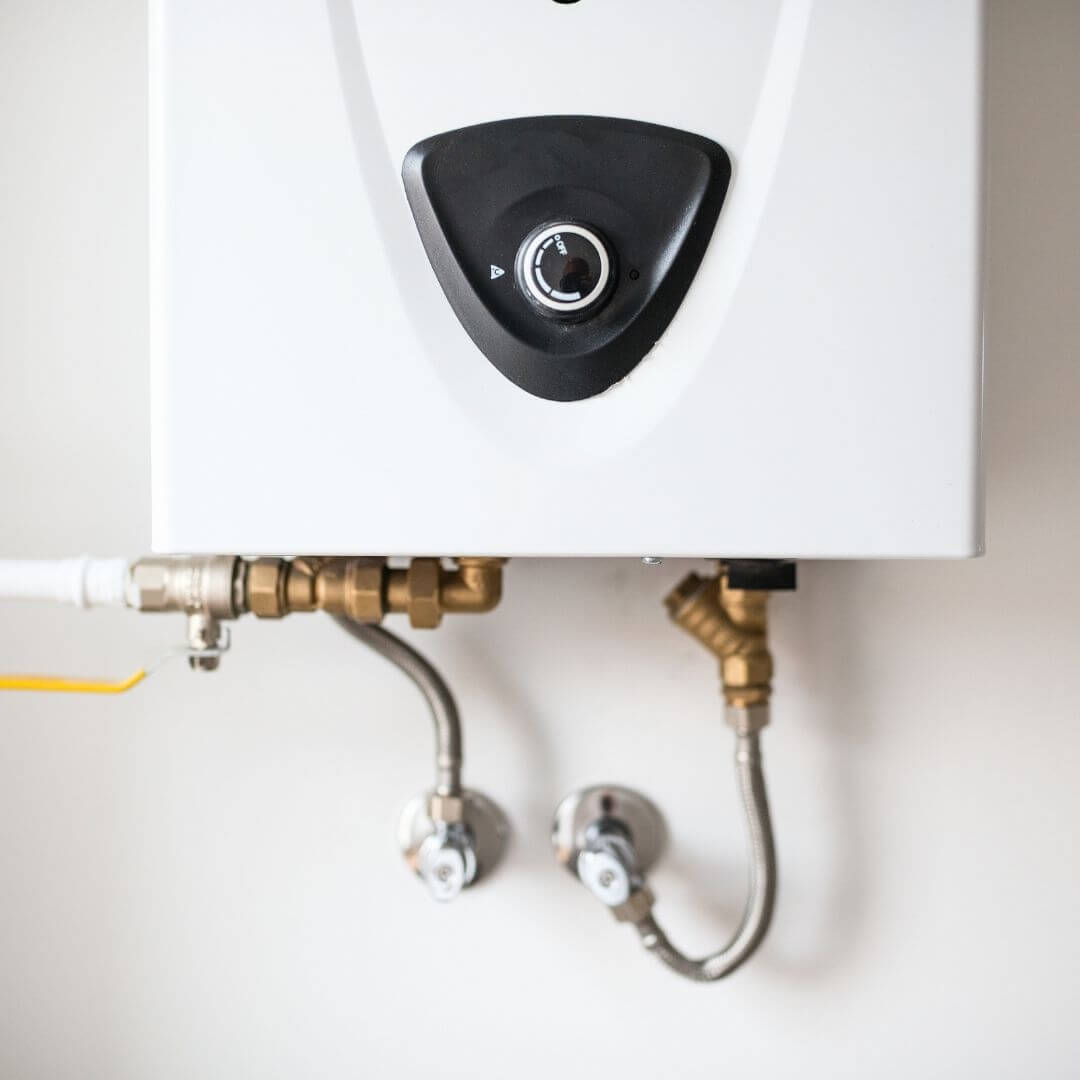
Step 2
Next thing to do is to open the faucet on the sink or bathtub to the hot water side to let the air get in the tank. Grab the valve with a pair of channel locks, turn it to the left, and you will know when it comes off.
Keep in mind that you might have to cut the pipe using a large adjustable wrench, so the new valve could fit in the spot.
After you’ve cut the pipe, you might experience some leaking. This can be solved with a Teflon tape or a cloth that will soak up the water.
Step 3
Now it’s time to replace the old pressure valve with a new one. Make sure you buy a valve with the same pipe size and BTU rating.
You will need Teflon tape here as well, as it prevents future leakages and seals everything.
Wrap about 4 or 5 threads of the new valve with it, but do this tightly.
Now screw the new valve into the water heater with locks and turn the cold water back on.
Step 4
Now it’s time to check out if you’ve done everything right and if this was indeed the cause of the leak.
Wait until the tank is full, and only then turn the power to the water heater back on. If you turn it too soon, you’re risking creating a dangerous situation.
How do you know the tank is full? Turn some of the faucets in your bathroom on, but make sure you only use cold water.
Once you notice a full stream in your bathtub or sink, that means the heater is safe to switch on. Only then you should turn the hot water on and see if there you still have a relief valve leaking on water heater.
If you want to make sure, wait half a minute longer. It’s always better to wait a bit more, than to turn the power on too soon.
Step 5
The final step is to attach the discharge pipe to the valve in order to assure hot water won’t spray outward but down to the floor.
Depending on your pipe type, you might have to use some type of pipe cement or other kind of pipe adhesive.
This step shouldn’t be difficult. In fact, depending on the situation, you might not even need to do it, as everything will already go in the right direction.
If Nothing Helps…
Water heater leaking at relief valve from the bottom is definitely a major red flag. The thing is – sometimes you can’t solve these leaks by yourself, and you will need a licensed plumber.
Sometimes a leaking water heater points out to a more severe problem, and that is another sign that you should get professional help.
Turn off the power and cold water and cold water supply to your water heater and wait for the plumber to arrive.
Conclusion
We know you want to solve that water heater leaking at relief valve as soon as possible, but we have to mention that you should always put your safety first.
Before attempting to make any changes, make sure to turn off the power supply and water supply first.
We truly hope our tips will help you fix leakage or flushing in your kitchen, bathroom, or basement, but keep in mind water heater leaking at relief valve sometimes requires professional help. Consider a tankless water heater as an alternative.

Michael Davis is a heating & plumbing expert who currently works as independent contractor in SC. He also writes for Plumbertip.
For almost 10 years he worked on various plumbing tasks across South Carolina.