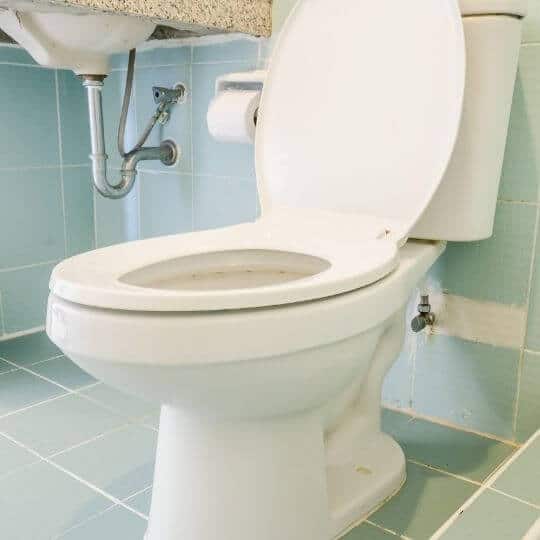
The toilet seat is the kind of item you easily replace when it’s no longer in good condition. But what if you can repaint it? So how to paint toilet seat?
Many people buy cheap toilet seats that they use for a couple of years and then dispose of. It’s as simple as that.
On the other hand, if you care a lot about your comfort, you might want to purchase a more expensive toilet seat. Under these circumstances, you will be less likely to replace it frequently.
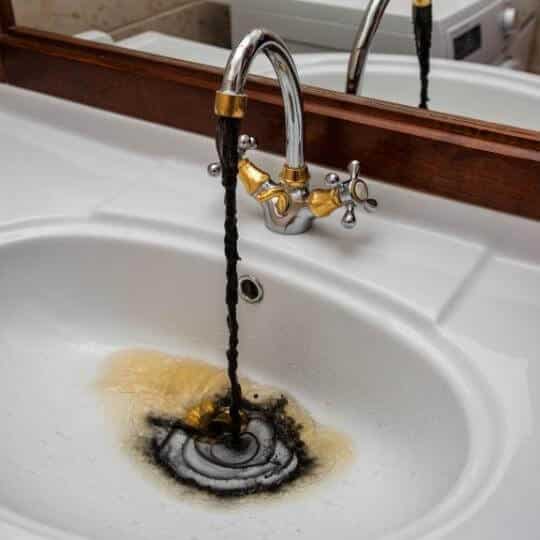
But what if you have toilet seat paint coming off or you notice toilet seat peeling? You will want to restore the seat’s appearance by researching toilet seat makeover tips and tricks.
This post is for those who have invested in a top-quality toilet seat and want to expand its life expectancy. You may also be interested in how to remove paint from toilet seat if you want to reduce waste. Either way, here’s what you should know about a toilet seat makeover:
Reasons to do a toilet seat makeover
Like we’ve said earlier, who reconditions a toilet seat when they can easily buy a new one?
Believe or not, there are some good reasons to offer your toilet seat some DIY attention:
- Saving money
Painting a toilet seat costs you less than buying a new, expensive model. At the same time, using a premium product for a longer time costs less than constantly replacing cheap toilet seats.
- Reducing waste and environmental impact
Toilet seats are not allowed in the recycle bin in many parts of the world or are simply not recycled. A toilet seat made from wood is not recyclable either. If you are concerned about your environmental footprint, you might want to repair/recondition your toilet seat. This way, fewer used toilet seats end up in the landfill.
- Getting a full deposit refund
If you are moving to a new place, you may want to get a full deposit refund from your previous home. Toilet seats can look worn-out due to frequent use and harsh cleaning. Applying a fresh coat of paint on them can make them look as good as new!
- Unleashing your creativity
Do you want to paint your toilet seat in an unusual color? Or in multiple colors? Or to print a funny picture or message on the lid? There are hundreds of pins with toilet seat redecoration ideas, including golden toilet seat. Why not give it a try and do you own crazy toilet seat makeover?
How to paint toilet seat?
Have you decided to paint your toilet seat? It may not seem like a big deal, but there are some secrets to it. Otherwise, the results may not be exactly as expected.
You can paint both wooden and plastic toilet seats. For the toilet seat makeover to be successful, you need to prep the surface properly.
However, you cannot paint padded toilet seats. The vinyl covering such seats does not hold the paint properly. The paint will crack immediately.
Be careful about painting a toilet seat that is still in warranty. Reconditioning the seat means you will break the warranty terms. In some cases, it might be better to wait until the end of the warranty period.
Keep reading to find out how to paint toilet seat, from how to remove paint from toilet seat to reinstalling the seat. [1]
List of necessary materials and tools:
- Cleaning solution such as dish soap
- Painter’s tape
- Rags
- Newspaper
- Screwdriver
- Primer and paint for wooden or plastic surfaces
- Sandpaper
- Optionally – paintbrush
How to Paint Toilet Seat – Complete the Process:
- Remove the toilet seat
Open up the bolt cover on the back of the toilet seat. Using a screwdriver, turn the bolt while holding onto the nut underneath.
- Clean the seat
Clean the toilet seat thoroughly and don’t forget about the hinge area. Rinse the cleaning solution from it and let it dry completely.
This part of the job is not as gross as you think. Did you know that your keyboard hosts three times more germs than your toilet seat?
- Protect areas that should not be painted
These include the hinges and the hinge covers. Mask them off with painter’s tape. Some people may not want the lid to be painted either – you can cover it with newspaper.
- Sanding areas to be painted
Sanding makes surfaces rougher so the paint adheres better. Remove all the dust left from sanding. Make sure all areas are dull and a bit rough.
Tip: wear a mask to protect yourself from particles while sanding!
- Ensuring a well-ventilated area
Best is to take the toilet seat outside and to prepare a surface under the painting area. You don’t want a paint ring the size of your toilet seat on your driveway.
- Continue preparing the surface
The traditional method uses a primer so the paint bonds properly to the surface. There are different primers for wooden and plastic surfaces.
It is possible to use a spray paint that contains both primer and paint. This helps you save time as you no longer have to wait for the primer to dry. The toilet seat makeover is completed in one easy step.
Tip: shake the primer spray can vigorously to mix its contents.
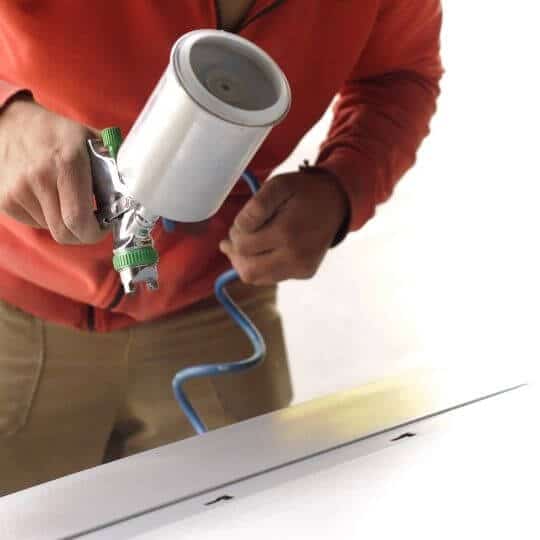
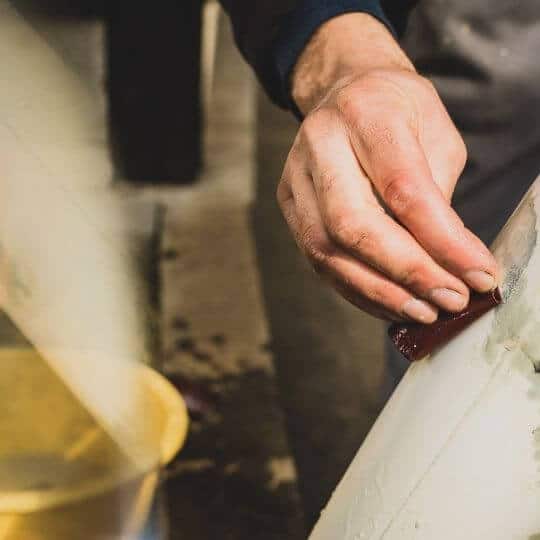
- Time to paint!
Use a spray paint and apply a light, even coat of paint. Apply the paint from 6 to 10 inches away. Make sure you spray into all hidden surfaces and crevices.
You may have to apply two coats of paint, waiting 30 minutes between coatings. Don’t overpaint or the toilet seat will not look good.
Check the can of paint for additional instructions.
Spray paint is a good candidate for a toilet seat makeover in most cases. If the toilet seat is used very often, consider epoxy paint which is more durable. Many times, toilet seats are exposed to a consistent amount of stress and require special paint.
Epoxy paint comes in two-parts kits and the two components are mixed immediately before use. This type of paint can be applied with a paint sprayer or with a fine-bristle paintbrush.
Tip: avoid spraying too close as this will cause paint drips and uneven coating. If you over-spray, you may need to find out how to remove paint from toilet seat.
- Re-installing the toilet seat
Wait for the toilet seat to be completely dry and re-install it. Be careful when you tighten the toilet seat back – applying too much force can crack porcelain.
All steps are important and the final result will not last or look good if you are not meticulous. Without sanding, the primer will fail. Painting over an unprimed toilet seat will cause the paint to peel.
Also, the quality of the paint is important. Using an ordinary acrylic latex paint will soon result in chipping and peeling.
Toilet seat scratch repair tips
During the preparation stage, you may notice scratches on your toilet seat. If you don’t repair them, the scratches will still be visible after the makeover.
So, if you want to do a good job, you need to deal with the scratches first. Here’s what you should know:
- Sand for light scratches
If the scratches on your toilet seat are light, they will disappear when sanding. Dip the sandpaper in rubbing alcohol and sand the scratch until the surface becomes smooth. [2]
Very light scratches can go away with a mild abrasive, such as baking soda or toothpaste. Use circular motions to effectively eliminate the scratch. Several applications may be needed.
- How to recognize a deep scratch
A deeper scratch is more visible to the eye and it catches your nail when you run it over. These scratches need multiple passes of grit wet sandpaper.
- Avoid substances that can damage the toilet seat finish
Avoid harsh chemicals, aerosol products, and nail polish remover. They will damage the toilet seat finish and you might eventually end up buying a new seat.
In case you decide to replace your toilet seat after all, make sure you choose the right type. Before heading for your home supply store, check if your toilet seat is round or elongated.
Is a toilet seat makeover really worth the effort? We think so! Now you know how to paint toilet seat!
Your toilet seat will look as clean as it really is without having to spend money on a new one. If you like a bathroom that sparkles and shines, this DIaY job is for you.

Michael Davis is a heating & plumbing expert who currently works as independent contractor in SC. He also writes for Plumbertip.
For almost 10 years he worked on various plumbing tasks across South Carolina.