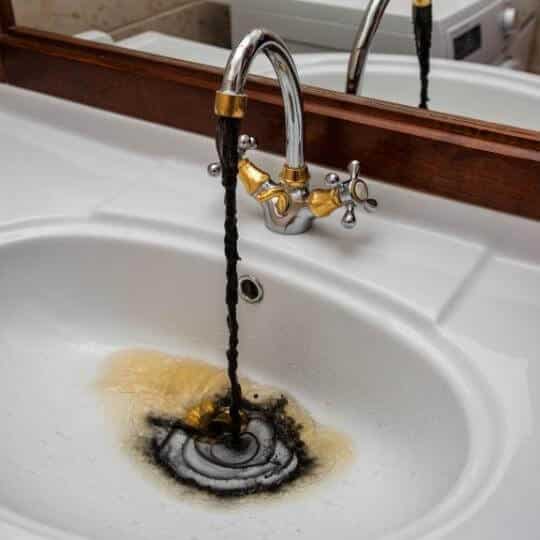
Bathroom sink drain leaking around threads is a very unpleasant problem. It can happen in the most unsuitable moments or cause extended damage that you notice too late.
For instance, you hurry to leave for work and water starts leaking under the sink. Or you are looking for something in your bathroom sink vanity to discover water has been leaking there for weeks. If the vanity is made from wood, the damage may already be irreparable.
Either way, bathroom sink drain leaking around threads is an issue that needs to be addressed to immediately. The more water leaks into your cabinets or bathroom floor, the more damage you will have to deal with. And the more expensive the repairs.
Keep on reading to discover what causes leaks around threads in bathroom sinks and how you can fix them.
What causes bathroom sink drain leaking around threads?

In order to make a good repair, first you need to find out what is causing the leak in the bathroom sink. Bathroom sink drain leaking around threads generally has three causes:
- Loose drain;
- Loose sealing between pipe and thread;
- Drain damage.
In order to identify the cause of the leak and solve it, complete the following steps:
- Check the nut
Start your inspection with the nut. It is possible for the drain to misplace from the right position and this makes the drain loose. Water will often leak from that tiny area.
Use a wrench to check if the nut is loose. Make sure the nut is not spinning around the gasket either.
- Inspect the thread
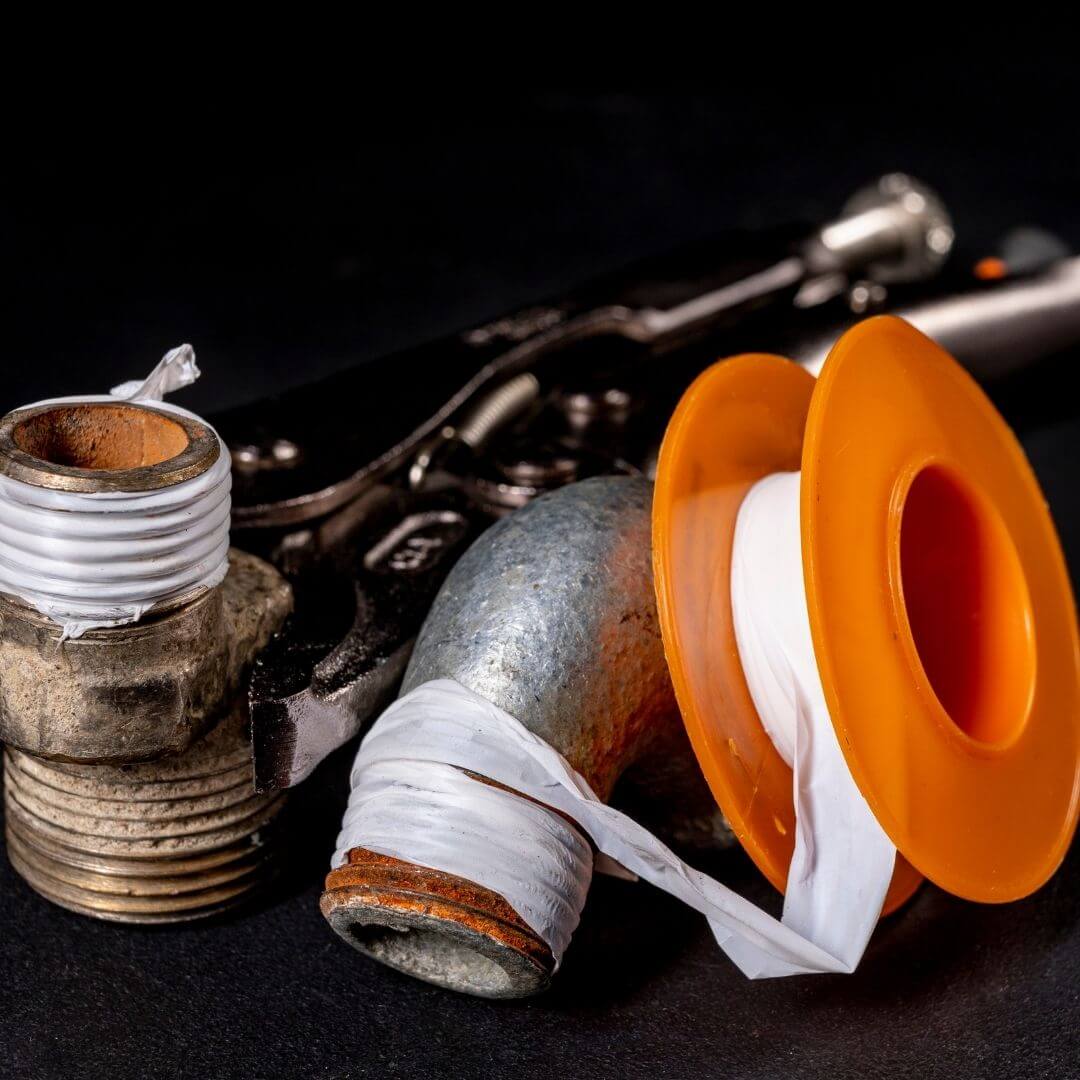
If the nut is tight and holding the drain correctly, it is time to check the thread. Plumbers use Teflon tape to secure the drain, but these tapes can become damaged after prolonged use. Replace the plumber’s tape with a new one to stop leaks from the thread.
- Check for drain damages
If the previous two causes don’t apply to your particular situation, check for damages in the drain. There are two parts that can suffer from damage and cause leaks. One is the rubber gasket and the other is the drain seal. It is also possible for the sink to be cracked around the drain and let water leak out.
How to fix bathroom sink drain leaking around threads?

Complete the following steps to make sure bathroom sink drain leaking around threads problem is solved once and for all:
- Turn off water supply
Shut off the water supply before you start working on the bathroom sink drain. Prepare a bucket that you will place under the drain just in case.
Even if you just quickly swap in a new part, you may need to take out certain vital parts. As a result, you will be surprised by full water pressure flooding the bathroom.
- Check the nut
The nut is the part that secures the sink to the drain. It can become loose, thus causing leaks. Use an adjustable wrench to see if it needs tightening.
If the nut moves when you put the wrench this means it should be tightened. After tightening run the water and see if the problem persists.
If this quick fix doesn’t work, it’s time to move to the next step.
- Check drain components for defects
Using the wrench, loosen the drain nut and disassemble the drain. We recommend laying out the components in the order they came apart. Carefully inspect each part for cracks and twists. If you find a piece that is damaged, replace it with a new one.
There are multiple parts in a drain that can be damaged: sink drain, tailpiece, P-trap, waste arm, etc.
The rubber gasket is often the culprit, as it plays an important role in securing the drain. Fortunately, this one is easy and inexpensive to replace. Use an adjustable wrench to remove the center nut from the bathroom sink.
Take out the old gasket and install a new one. Reattach the drain to the sink and the problem is solved!
- Replace seals
No damage to the drain components? Use plumber’s tape to reseal the drain. This tape creates a watertight seal around the drain.
Before applying new sealants, make sure you remove the old sealing. You will need a putty knife to cut the caulk. Make sure to remove the entire sealing.
Apply pressure to the tape and valve and wrap the tape making sure to keep it nice and tight. Snap off the tape after several revolutions and remove stray tape strings.
- Consider applying plumber’s putty
Plumber’s putty is not adhesive and it doesn’t bound to surfaces. Yet it is very effective at plugging the contact between the porcelain and the metal drain flange.
Make sure surfaces and perfectly clean and dry. Roll the putty into your hands until it looks like a worm and wrap it under the top of the drain piece. Set everything back in the hole of the sink.
- Apply silicone caulk
Silicone caulk is often used in combination with plumber putty. This material hardens around the drain hole, securing it and preventing leaks effectively.
Bathroom sink drain leaking around threads tips
Here are some secrets to make sure your repair delivers the expected results:
- Avoid overtightening
In an attempt to stop leaks, you may overdo it and overtighten the slip nut. This can cause damage to the nut and the sink. Tighten the nut until you feel it’s tight plus an additional quarter of a full rotation. This should do in most cases.
- Make sure the silicone is cured before running water
If you apply silicone caulk to seal the drain, make sure it cures for the recommended time. Read the directions carefully before using any plumbing product.
- Check the sink neck when replacing the rubber gasket
Even if you replace the rubber gasket with a new one, you may still be dealing with problems. To avoid further leaks, check for small cracks in the sink neck as they can prevent the gasket from adhering perfectly to the sink neck.
- Make sure the rubber gasket is really made from rubber
Avoid cheap replacements such as gasket made from plastic instead of rubber. Gaskets are made from rubber (even if it’s synthetic rubber) because this material is more pliable than plastic. Even silicone could deliver a good performance, but avoid plastic as it doesn’t mold around the thread.
- It is preferable to take the drain apart
Even if it seems like hard work, take the drain apart and reassemble it. Just patching the leak could help for a while, but new leaks will likely appear in the future. The water damage will give you a lot of extra work.
This is why you should always check the drain parts for damage. Replace defective and worn-out parts and only afterwards consider using silicone and other sealants.
- Yet don’t forget about sealing either
It is possible for sink installation instructions to not mention the necessity of using a Teflon tape for sealing. Every professional plumber knows that threads need to be sealed. Even if the drain is assembled correctly, you will still need to seal it carefully.
- Apply tape clockwise
A common mistake among DIY amateur plumbers is wrapping Teflon tape backwards instead of clockwise. This is wrong because as you tighten the fitting, the tape will unwind from the threads. This cancels the entire sealing effect of the tape.
- Be cautious even if the repair seems complete
Leaks from sink drains can be very minor and irregular. They can go unnoticed even if you run water after a repair to check results. Place newspaper at the bottom of the cabinet under the sink. This not only protects your cabinet to a certain extent, but it also helps you identify leak locations.
When is it time to call a plumber?
Have you followed all the steps described above and water is still leaking? In this case it is time to call for a professional plumber
A plumber should diagnose the issue correctly and recommend you an effective solution.
In some cases, you may even have to replace both the bathroom sink and the drain.
Dealing with bathroom sink drain leaking around threads?
This is a very unpleasant issue, but fortunately there are multiple solutions for the problem. From reassembling the drain and replacing bad parts to applying sealants, one of these fixes should work for you too! [1]

Michael Davis is a heating & plumbing expert who currently works as independent contractor in SC. He also writes for Plumbertip.
For almost 10 years he worked on various plumbing tasks across South Carolina.