Have you ever considered excavating your crawlspace and converting it into a basement? This uninhabited area, often known as a cellar, offers a fantastic opportunity to improve your home’s living space and market value. As a result, many homeowners wonder if adding a basement to an existing house with a crawl space is a good idea.
It is possible to transform a crawlspace into a cellar. However, it is not a do-it-yourself project. This is a large project that professionals should handle. It necessitates a considerable amount of effort as well as expert engineering skills. [1]
You will require professional assistance because you must temporarily support and extend the house’s foundations while digging down.
Your home may collapse if the foundation is damaged. Around the outside of the basement, you must also construct concrete walls and foundations. Therefore, it would be best if you did not attempt this on your own.
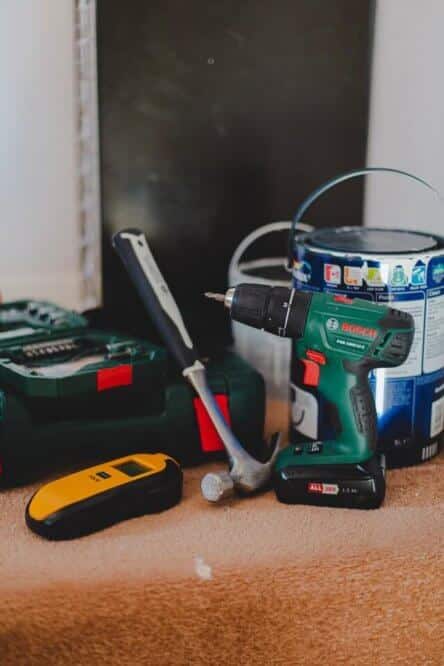
Reasons for adding a basement to an existing house with a crawl space
![]()
- Expand your living space: Land is costly, and lots are small. Therefore, it is not always possible to have an addition to your home. However, excavating the crawlspace and adding new rooms to the basement is frequently the best way to increase your living space.
- Increase the market value of your home: Converting your crawlspace into a basement enhances the market value of your home. In fact, increasing the number of rooms in your home boosts its market worth significantly.
- To avoid moving: You want to stay in your home if you enjoy it. Excavating your basement is a way to meet your new needs if your family is growing.
- Add an apartment: You may add an apartment and earn some money by converting your crawlspace into a finished apartment. Alternatively, keep the apartment for a parent and make your house a multigenerational household.
- Repair your home if it has structural or foundation issues. Ensure that you take advantage of the excavation work carried out to turn the crawlspace into a basement. These issues can be resolved as the work is being done.
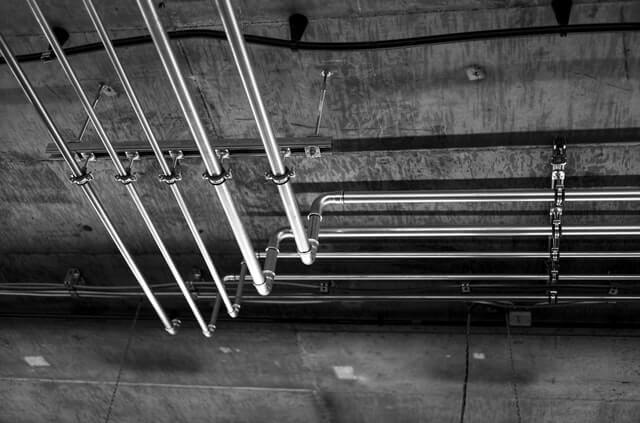
A step by step guide on adding a basement to an existing house with a crawlspace
![]()
Like any remodeling that adds considerable value to a home, a crawlspace conversion will temporarily turn your home into a work site. Your home might therefore be uninhabitable because of the equipment and labor required to complete the project. To ensure the process goes smoothly, follow the guide below:
Step 1: Make a plan and get approval from an engineer.
The most likely first step will be to consult with a contractor to obtain a quote for the task. The contractor will require designs for the new basement, which you can obtain from the design engineer.
You can hire a structural engineer to design your new basement for you. They’ll need to come to your property, take precise measurements, and look over existing blueprints. Be prepared to spend anywhere from $500 to $2000. [3]
Once you have the designs get the contractor to give you an estimate before beginning the work. Again, obtain multiple quotations, as larger jobs will have a broader range of estimates than smaller jobs.
Remember to examine contractors’ references; just because they “specialize” in foundation repair does not guarantee they are the most suitable for your project.
Step 2: Obtain a Construction Permit
You can apply for a building permit once you have a contractor in place and have designs and clearances from a structural engineer. While each municipality’s process is different, most will demand a stamped construction plan, a comprehensive lot diagram, a fully surveyed lot, and information about the contractor.
Permits are another expense, and depending on the municipality; they can range from $50 to $300 – or even more. Certain jurisdictions may not allow homes to be raised, so expect back-and-forth with the building inspectors before approval.
Step 3: Dig and expose the exterior foundation.
The first phase of the project will be to dig out the foundation’s exterior. Depending on your property’s location, this could take a few minutes to several hours of digging. The entire foundation, down to the footings, must be exposed.
You must dig down to the footings for two reasons: the first is that you will need to waterproof the entire foundation wall, including the footings, after the wall is finished. Second, pieces of the crawlspace wall may need to be removed to secure the house-raising jacks.
When the construction is finished, it is recommended that you backfill with 3/4″ gravel to help drain water away from the new foundation [4].
Step 4: Raise the house
Lifting the house is the most invasive component of the job. A crawlspace can be any height but typically are between 2 and 5 feet tall. You should aim to raise the building’s height so that the finished basement has a 7′ clearance.
Consider that you’ll be pouring a slab after the house has been lifted, so factor in the thickness of the slab – at least 3″. The contractor will install a series of hydraulic jacks in strategic locations beneath it to raise the house. If your crawlspace has a dirt floor, they’ll have to create temporary concrete footings for the jacks to rest on.
All plumbing and electrical connections extending into the crawlspace and any fasteners attaching the house framing to the crawlspace wall must be disconnected. The jacks will then be raised a few inches at a time, all under the control of a single truck operator.
Up to the bottom of the house, the vast beams will be stacked in alternating directions, known as cribbing. As the jacks lift the home, the cribbing is raised, finally supporting the house while the new walls are being created.
Step 5: Construct a New Foundation Wall
You can either lay a new foundation on top of the existing one or use cinder blocks to make a new foundation wall.
If you go with pouring a new foundation wall, the contractor will construct forms out of plywood or Styrofoam, insert rebar, and pour. Concrete will be delivered to your home by a concrete mixer. If you choose a block foundation wall, the process will take much longer because the blocks must be laid by several persons.
Step 6: Remove Cribbing and Lower the House
It’s now time to re-establish the home on the new basement external walls. The hydraulic jacks and cribbing will be gradually lowered until the house rests on the new walls.
Re-install any piping, electrical, or HVAC connections removed before the lifting once the house is fastened to the new foundation walls. The construction inspector will want to see who completed the job before signing off on the finished project, so you’ll need an electrician and a plumber.
Step 7: Install a New Basement Floor
While this could be done before the walls are finished to make concrete delivery easier, it would be challenging due to the cribbing and jacks beneath the house. So instead, pouring a new slab via an aperture in the foundation wall, such as a window, is perfect.
Slabs should come up to or just above the level of the footing. It should be at least 4″ thick. Before pouring the slab, any form of a sump pump should be fitted.
The slab will be polished to a smooth surface by the contractor. Because drying will take many days, no interior work can be done during this time. However, exhaust fans might be deployed to speed up the process.
Step 8: Waterproof Structural and Decorative Walls
Starting from the outside, waterproofing foundation walls is a good idea. A protective membrane that attaches to the outer walls is required. Bitumen-based foundation self-adhering coverings can help with this. Many of them need primers before they can be installed, and they should cover the entire wall.
Perforated drains – weeping tile – should be put at the base of the footing and wrapped around the perimeter of the footing. The drain will go beneath the house in one corner to connect to a sump pump.
Once the membrane and tile are installed, the contractor should build a dimpled membrane connected to the walls using concrete screws. This gives your foundation an outermost layer of waterproof protection.
Step 9: Backfill External Basement Walls
Backfilling your basement walls with clear 3/4″ gravel ensures proper drainage and eliminates the chance of silty soil clogging your weeping tile. Topsoil, which rests above the rock, should cover the last 6″ or so of the earth. A gradient of at least 12″ per foot of distance from the house is optimal. This is the rule for at least the first 10 feet away from home [6].
Step 10: Finish the inside of the house
It’s finally time to move in and finish your fresh new living room. To begin, you’ll need to frame and insulate the perimeter of your basement. While spray foam and other insulation choices are available, you can go with basic 16″ fiberglass insulation.
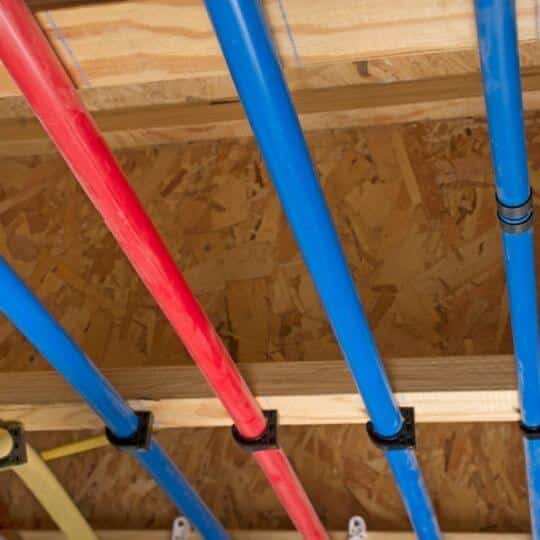
Costs for adding a basement to an existing house with a crawlspace
![]()
It’s hardly unexpected that transforming a crawlspace into a basement costs six figures when broken down into individual components.
- Approvals, permits, and plans: If you reside in a rural location, the permission and planning can cost as little as $500. However, expect to invest around $3000 to get your crawlspace in Reno off the ground if your home is located in a large urban region with more stringent building rules and a greater cost of living.
- Excavation: The job will be less expensive if your crawlspace is shallow. However, the whole perimeter of your home must be dug out and any decks or patios. As a result, the starting salary for this position will be roughly $5000. If you need a lot of decking removed and have a deep crawl area, expect to pay around $20000 if you also want the soil removed.
- Raising the House: If your home has two stories, the cost of house raising will be substantially higher because more support and jacks will be required. In addition, your house raising expenditures will be $100 per square foot, if not more, because you’ll need to lift the house sufficiently to construct a finished basement.
- Concrete: A cubic yard of concrete will cost around $140. Some regions might be a little less expensive. If the poured walls are 6″ thick, this equates to approximately $18 per square foot of concrete.
If the walls are 8′ high and the length of the wall is 40′, the concrete for that wall will cost $320. When you double that by two, you receive $640. So the cost of only concrete for the poured walls will be around $1000.
Add $10 per square foot for labor, plus $150 hourly for the concrete truck to supply and mix the concrete. Miscellaneous components, such as rebar and other forms, will cost an additional $3-$4 per square foot. At the very least, this adds another $3000 to the job.
Finally, don’t forget about the concrete slab, which is 4″ thick. This will amount to around 14 cubic yards of concrete, which will add another $2000 to the ultimate bill. Overall, a 30’x40′ house with 8′ poured walls will set you back at least $7000 [8].
- Waterproofing: The price per linear foot is likely to be around $40. So if you have a 30’x40′ house, you may expect to spend roughly $5000 for it.
Avoiding damage when adding a basement to an existing house with a crawlspace
When converting your crawlspace into a basement, it’s critical to work with well-known experts in the industry. Consider this: your home has been built on the same foundation for many years, if not a century!
A poorly completed excavation could have disastrous effects on your property and your neighbors’ foundations.
Keep in mind that a professional will complete the work in stages and understand how to support the foundation at each stage. Furthermore, specific procedures must be followed to preserve the stability of your home and avoid long-term concerns.
As a result, we pour concrete at various stages of the project, including when the crawlspace is converted into a basement, to support the home properly. After that, we ensure no water infiltration and that an appropriate drainage system is in place.
We also inspect the waterproofing of the foundation, which helps to prevent potential water intrusion and foundation fractures.
Unfortunately, numerous organizations that excavate basements frequently skip these measures. As a result, they expose your home and your neighbors to significant hazards that could have serious ramifications and expose you to civil liability. Make sure you hire an experienced specialist to avoid any difficulties.
After all steps are completed, crawl space maintenance will be a much easier.

Michael Davis is a heating & plumbing expert who currently works as independent contractor in SC. He also writes for Plumbertip.
For almost 10 years he worked on various plumbing tasks across South Carolina.